

Seedream 5.5 Prompt Guide: Text, References & Precise Edits
Improve Seedream 5.5 prompts with clear reference roles, exact poster text, and targeted edits. Four rewrite templates show what to change and what to check.
A poster can look finished until you notice the wrong date. A room edit can fix the wall and move the sofa. When an image misses one requirement, adding more style words rarely tells the model which decision to correct.
A useful Seedream prompt guide starts with a smaller question: what is wrong, and which instruction would make the intended result unambiguous? State the task, identify the subject, define the composition, and name the details that must survive. Then revise the part of the prompt connected to the visible problem.
This guide uses four original teaching templates. The problems described are hypothetical failure cases; the revised results are inspection targets, not images generated or measured in our tests. The accompanying showcase media illustrate separate examples, not outputs from these prompts.
Build the prompt around decisions
Use this structure for Seedream 5.5 prompts:
Task: Create, edit, replace, or combine something specific.
Subject: Identify the main object or person and distinguishing details.
Composition: Specify framing, placement, and space needed for text.
Appearance: Describe useful lighting, materials, and style.
Preserve: Name existing details that must remain unchanged.
Text: Give exact wording and where each line belongs, if applicable.
You can write this as ordinary sentences. The labels are a drafting aid, not special model syntax. For a new image, describe the features you want; for an edit, separate the requested change from the features already present.
Resolve contradictions before generating. “Close-up” and “show the entire room” describe different framing. “Keep all lighting unchanged” conflicts with “turn daytime into night.” Decide which requirement matters and remove the competing instruction.
ByteDance's Seedream 5.5 overview describes targeted editing and shows compositions with explicit placement, materials, and lighting. Those capabilities make clear instructions useful; they do not make every requested detail automatic.
Rewrite 1: replace vague styling with a composition
Suppose you need a vertical promotion featuring a yellow wall, a purple door, and room for a headline. “Beautiful” does not specify which part of the image should remain empty.
Original prompt
A beautiful purple and yellow street scene for a summer sale.
Make it cinematic and professional.
Possible output problem
The image may have appealing colors but no usable text area. A large doorway, plant, or shadow could fill the space intended for the headline. The prompt supplied a mood without giving the layout a job.
Revised prompt
Create a vertical 3:4 street photograph for a summer promotion.
Show a lemon-yellow plaster wall with a closed purple wooden door
in the right half. Place one small bucket of golden flowers at the
bottom right. Keep the upper-left quarter as plain yellow wall,
with no objects or strong shadows, for a headline to be added later.
Use afternoon sunlight and visible plaster texture. Show no people.
Do not render text in the image.
Revised result to check
The door should sit to the right, with a genuinely usable patch of wall at the upper left. Check the crop at the size you intend to publish. If the empty area is still too busy, revise that placement instruction before changing the lighting or overall style.
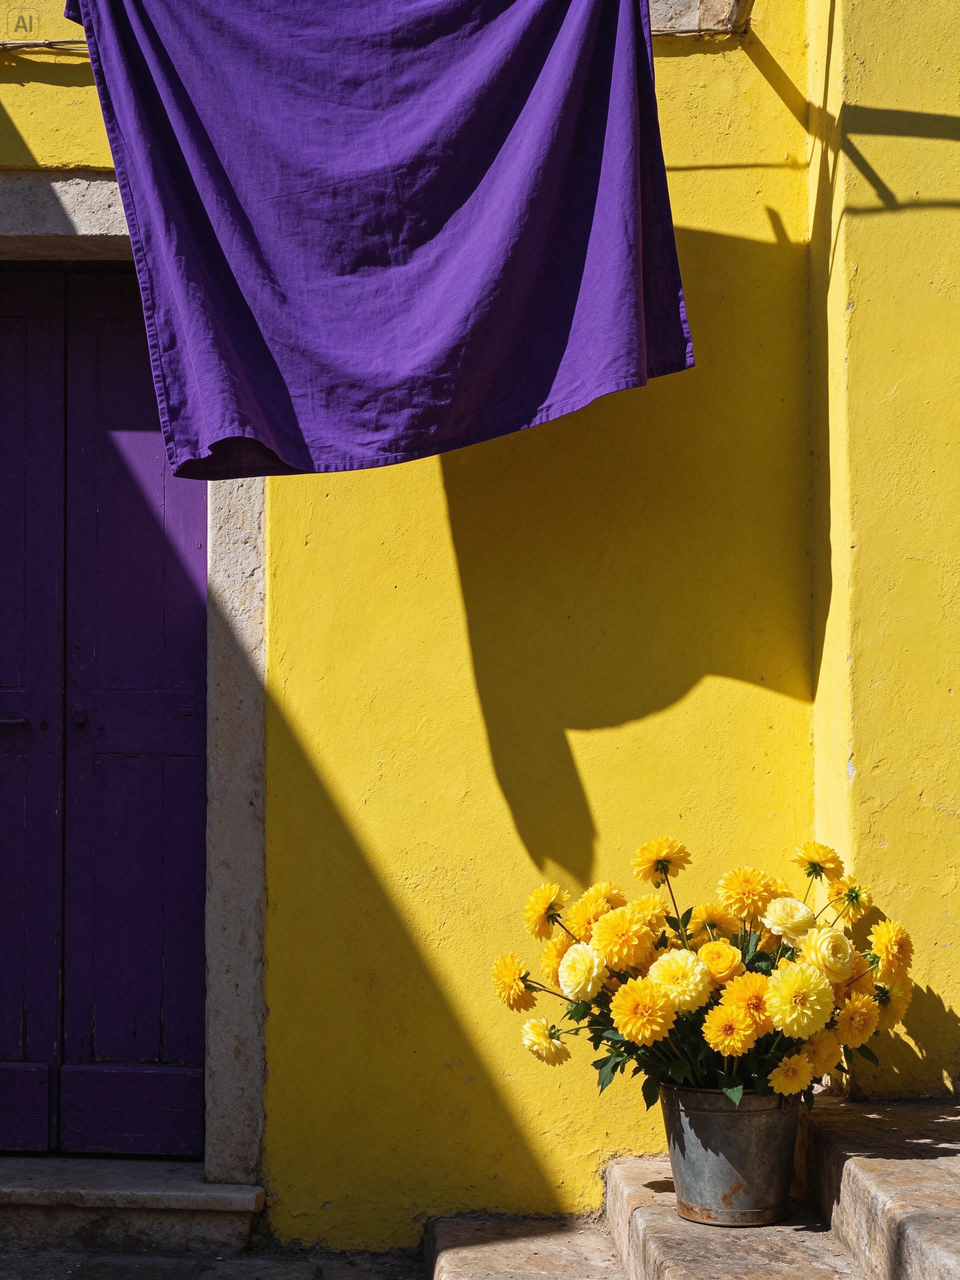
This separate composition example helps you inspect the balance of objects and open space. It is not the result of the revised prompt above.
Set the actual aspect-ratio control to 3:4 as well. A ratio written in the prompt should not conflict with the output setting.
Rewrite 2: give every reference image one job
Multiple references are useful when they contribute different information. They become ambiguous when the model has to decide which subject, setting, or style to follow.
Before uploading, choose a clear subject image, a setting image, and, only if needed, a style image. Avoid a style reference whose dominant subject you might accidentally reproduce. Number the images in upload order and describe them in the prompt so the labels remain understandable.
Original prompt
Combine these three images into a polished campaign photo.
Use the product and make it look like the references.
Possible output problem
The subject could inherit the wrong color, duplicate an object from the scene, or acquire lettering from the style reference. “Like the references” gives every image permission to influence every decision.
Revised prompt
Create one campaign photograph using the three attached references.
Image 1, the single red backpack on white, defines the backpack only:
retain its red fabric, black straps, front pocket, and overall shape.
Image 2, the empty stone bench in a courtyard, defines the setting
and camera viewpoint. Place one backpack upright on that bench.
Image 3, the warm editorial still life, defines color treatment and
soft lighting only. Do not include its objects or lettering.
Keep the backpack fully visible, centered slightly to the right,
with open courtyard space on the left. Add a contact shadow where
the backpack touches the bench. No additional bags or captions.
Revised result to check
Inspect the result against the references separately. Compare the backpack's pocket and straps with Image 1, the viewpoint with Image 2, and the warmth of the light with Image 3. “Looks good” is too broad to reveal which reference role failed.
If the subject changes, simplify the task: remove the style reference and establish the subject in the setting first. Once that is acceptable, try a restrained appearance edit. Keep the original reference available for comparison at both stages.
This separate demonstration reuses character assets across compositions. Watch for distinguishing features that remain recognizable as the arrangement changes; it does not demonstrate the backpack prompt.
Reference numbers are plain-language identifiers here. Do not assume that writing “Image 1” creates a reference: the corresponding image must actually be attached.
Rewrite 3: separate poster wording from poster design
Treat poster copy as content to reproduce, not an invitation to write new copy. Decide the exact wording before asking for visual hierarchy.
Original prompt
Design a stylish poster for our Saturday ceramics workshop.
Include the date and a cheap ticket price. Use elegant typography.
Possible output problem
The model has no date or price to reproduce. It could invent both, add promotional claims, or put the essential details in tiny text. These are missing inputs, not problems that “better typography” can solve.
Revised prompt
Create a vertical 3:4 poster for a ceramics workshop.
Use an ivory background and one photograph of a handmade blue bowl
in the bottom half. Keep all text separate from the bowl.
Render exactly these three lines, without the quotation marks:
"CLAY & COFFEE" — largest text, centered in the upper third.
"SATURDAY 21 NOVEMBER" — smaller, centered below the headline.
"TICKETS $25" — medium size, centered near the bottom margin.
Use dark navy, clearly readable lettering with generous spacing.
Keep each line on one line. Add no other words, logos, or badges.
The date and price are fictional example copy. Replace them with your event details before using this template.
Revised result to check
Read every character in the downloaded image. Verify the ampersand, the date, the dollar sign, and the price, then check the reading order at thumbnail size. A poster can contain every correct word and still fail because the headline is less prominent than the ticket price.
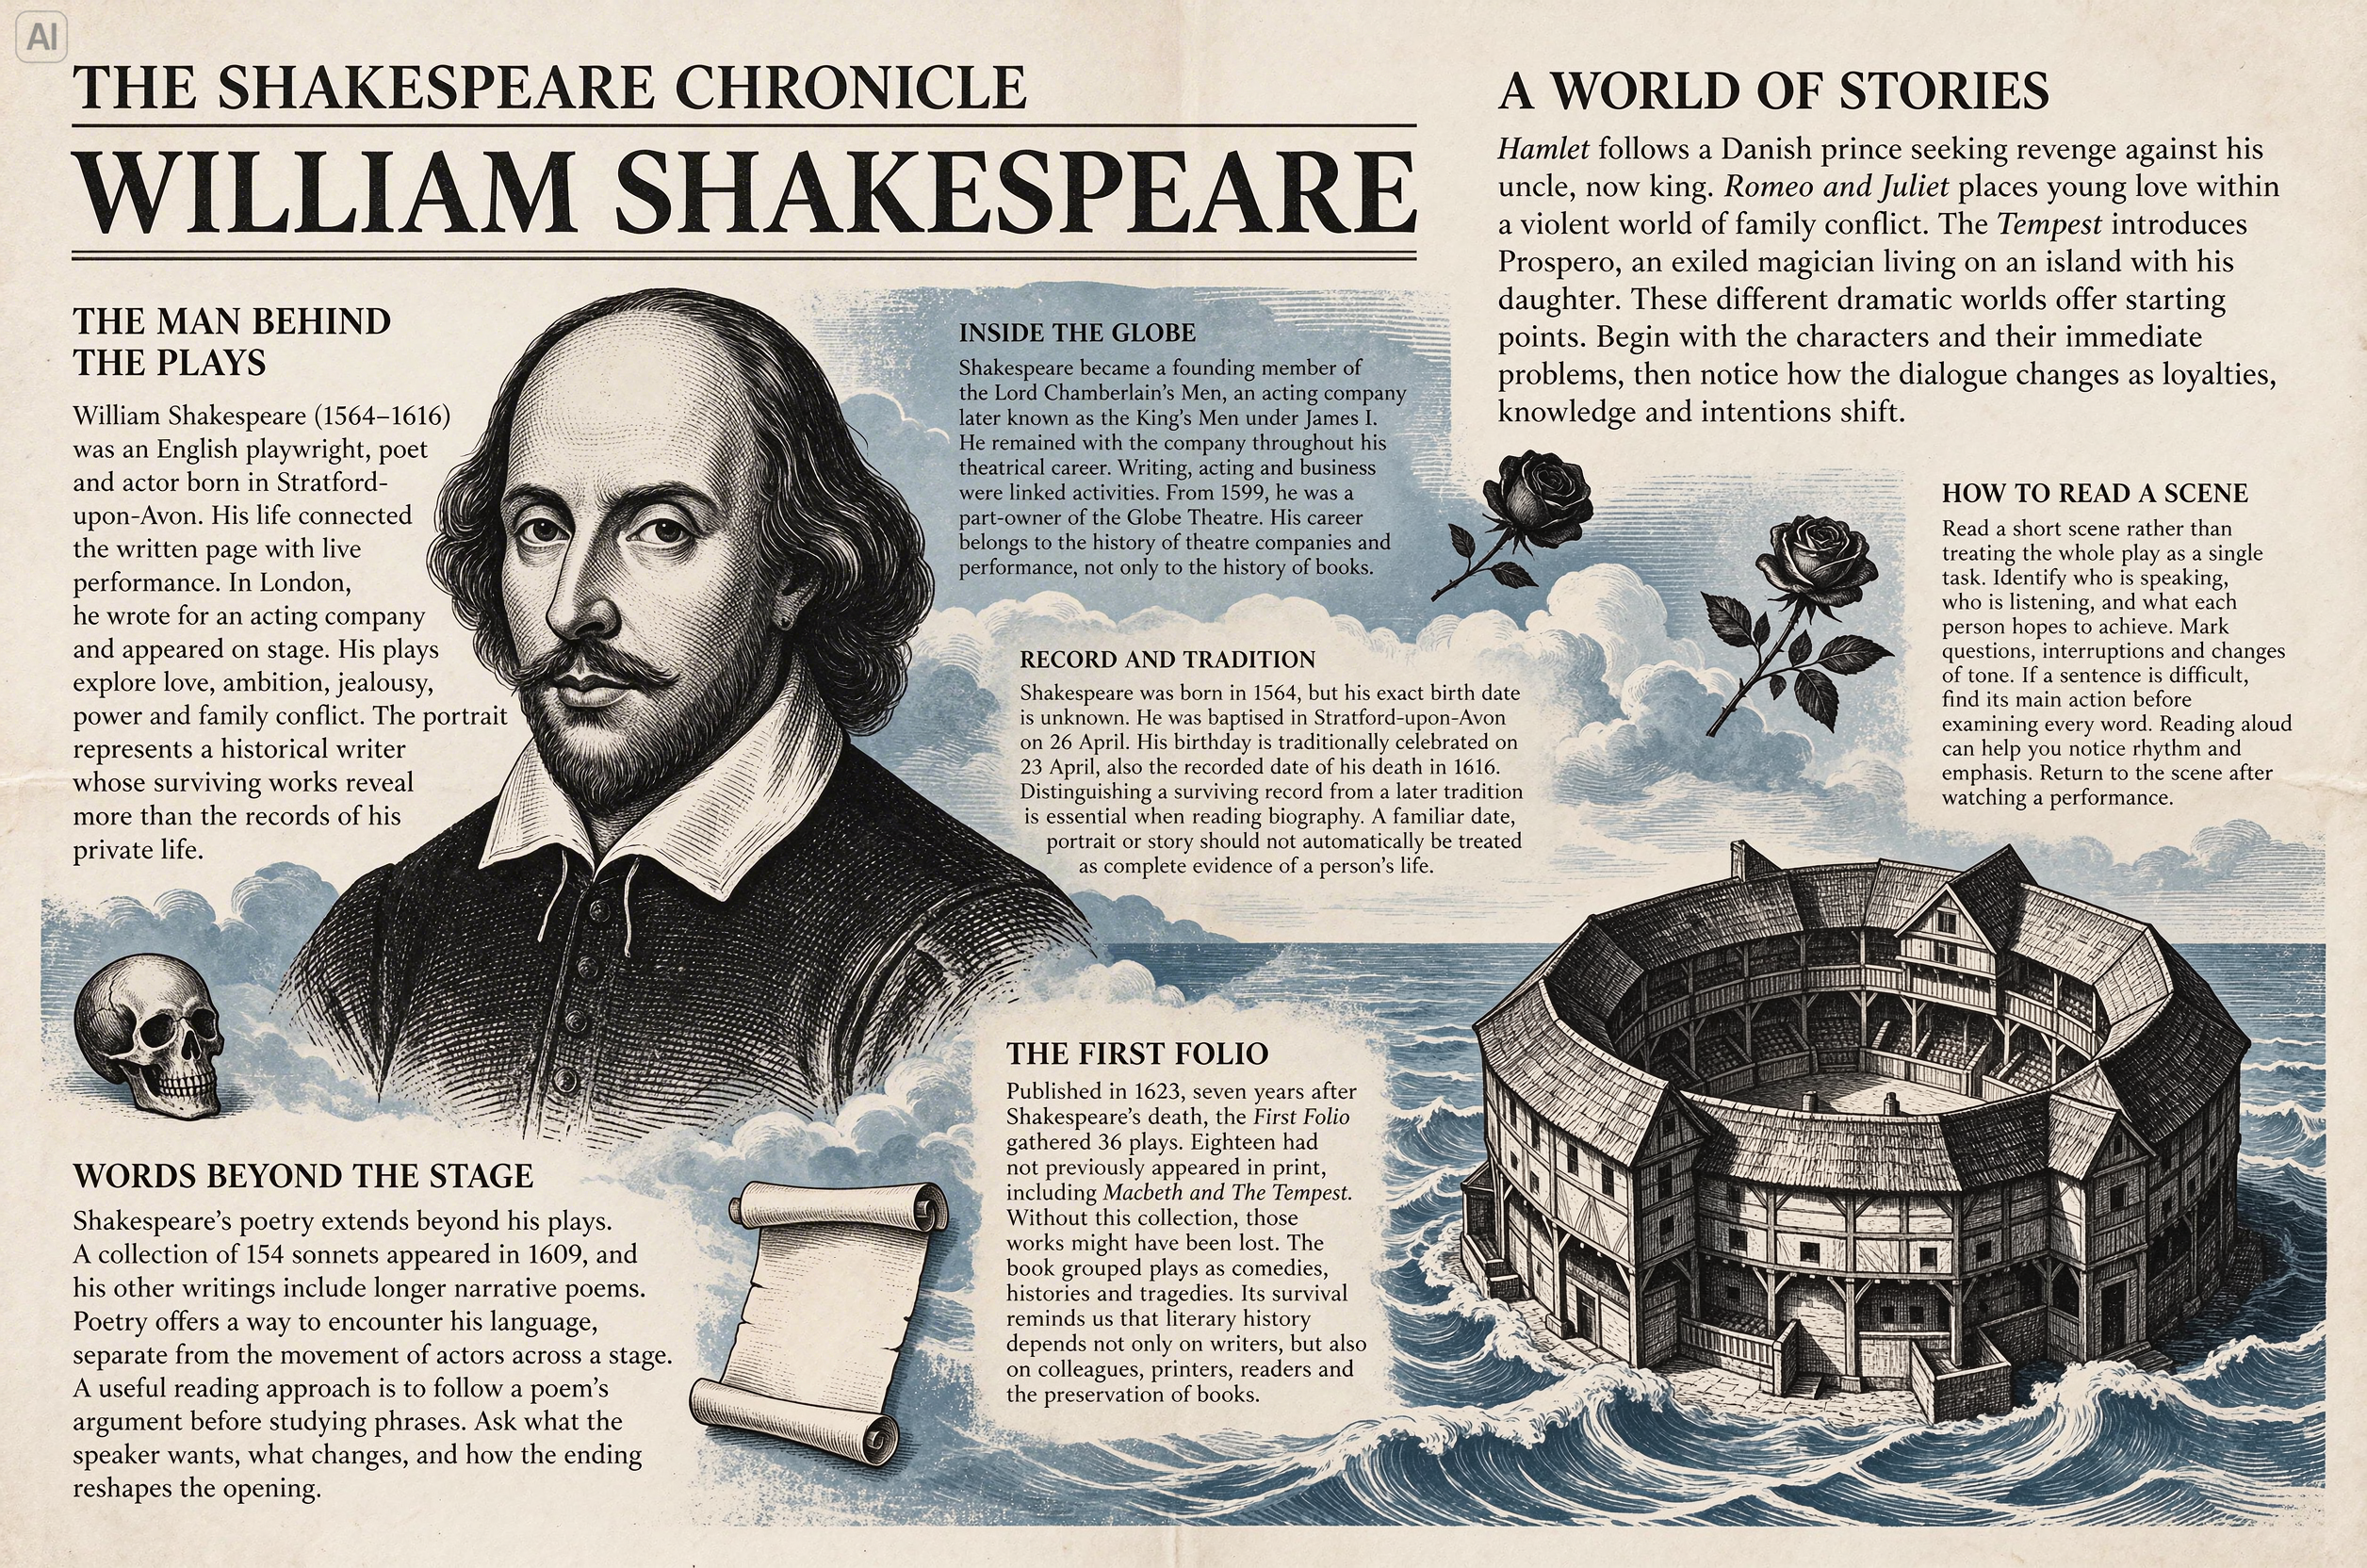
This separate text-layout example shows why wording and hierarchy deserve distinct checks. It is not evidence that the workshop template will reproduce every character correctly.
The Seedream 5.5 launch article reports improvements in small-text rendering. Proofread your own output regardless. If a required date or price remains wrong, generate the artwork with an empty text area and add the final copy in a layout editor. For exact brand typography, that also gives you direct control over the font.
Rewrite 4: specify the edit and the preservation boundary
Seedream image editing prompts need two instructions: what should change and what should remain. Broad requests such as “refresh this room” leave the model room to redesign it.
Original prompt
Make this room more modern with a green wall.
Possible output problem
The wall color could change along with the furniture, rug, window treatment, or camera angle. “More modern” asks for a wider redesign than a paint change.
Revised prompt
Edit the attached room photograph. Change only the painted wall
behind the sofa from beige to muted sage green with a matte finish.
Keep the sofa, cushions, rug, floor, wall art, window, and curtains
unchanged. Preserve their positions, shapes, colors, and textures.
Keep the original camera viewpoint, crop, daylight direction,
and shadow shapes. Do not add or remove objects.
Revised result to check
Compare the wall first, then deliberately inspect everything you asked to preserve. Did the sofa seams, frame edges, curtain folds, and rug pattern remain consistent? Does the wall color stop at the correct boundaries? A successful color change alone does not establish a successful local edit.
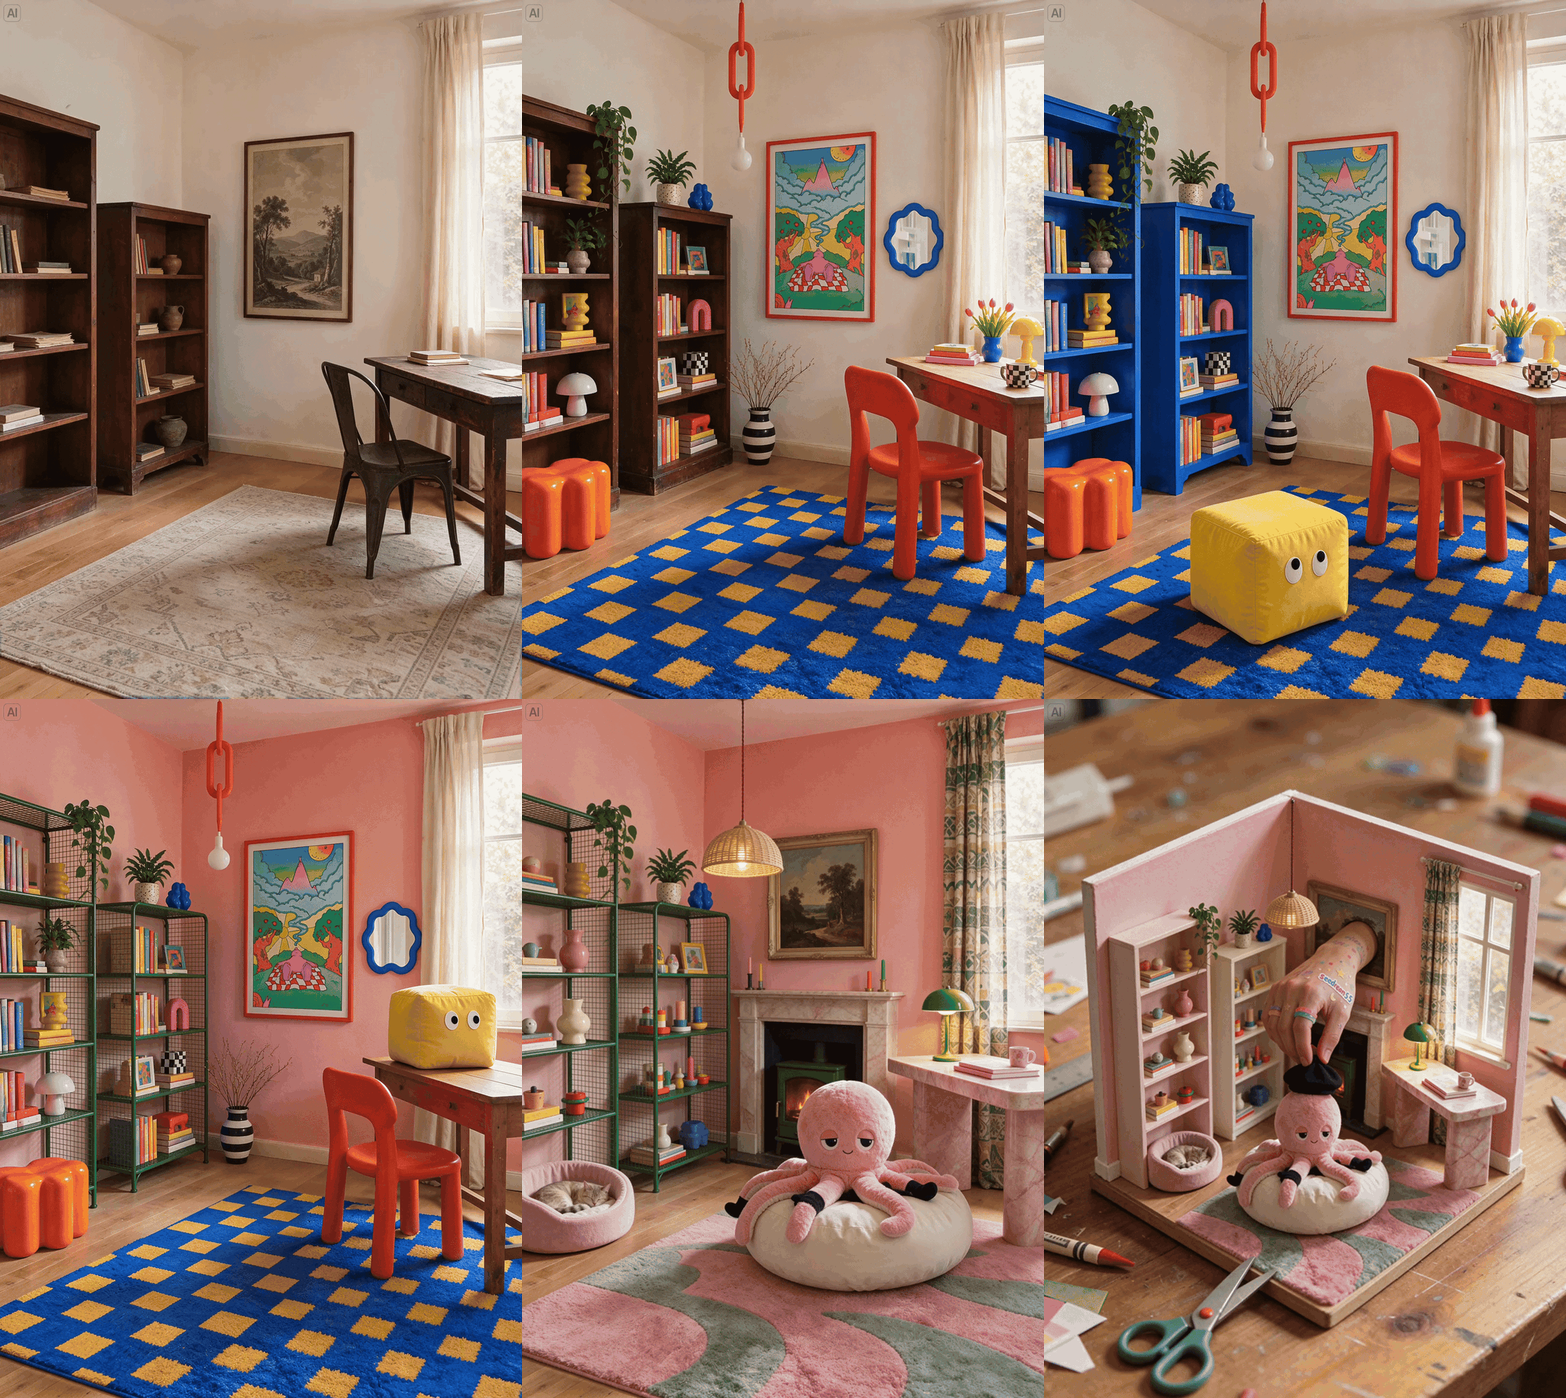
This separate sequence illustrates editing within a room. The wall-only template asks for a narrower change, so judge it by the untouched details as well as the paint.
If the result alters an unrelated object, return to the last acceptable image and narrow the instruction. Avoid repeatedly editing a version that already contains an error you do not want to keep. A preservation sentence expresses your intent; it is not a guarantee of pixel identity.
Run a useful revision on Seedream 5.5 Pro
Seedream 5.5 Pro is the name of this website. The model used for this guide's workflow is Seedream 5.5; the site name should not be read as a claim that a separate Pro model generated these examples.
The site's Seedream 5.5 tool provides a prompt-based workspace for creating images and using reference images for edits. It suits the point in this workflow where you have identified one change and want to compare a new output with your starting image.
- Open the tool and confirm that the selected model reads Seedream 5.5.
- For an edit, attach the image you want to change. For multiple references, check their order against your written descriptions.
- Paste your revised prompt and choose an aspect ratio that matches it. Keep the model, resolution, and references unchanged when comparing prompt revisions.
- Review the displayed credit cost before generating.
- Save the prompt and settings with the result. Compare it with the original using the checks from the relevant example above.
This comparison helps diagnose a prompt; one improved image does not establish a measured success rate. Outputs can vary between runs even when you keep the visible settings the same.
For a starting idea, browse the Seedream Prompts library, then adapt its subject and composition to your task. Copy the text and open the Seedream 5.5 tool separately: the library's Continue to GPT Image 2.6 option sends the prompt to a different model.
Choose the next revision from the actual error
| What you see | What to revise first |
|---|---|
| Subject too small or badly cropped | Subject size, framing, and placement |
| Reference details mixed together | The role of each image and which details it controls |
| Wrong words, date, or price | Exact quoted copy, with no missing information |
| Correct text but poor readability | Hierarchy, contrast, spacing, and available text area |
| Unrelated objects change during an edit | A narrower change request and explicit preservation details |
| Image feels overcomplicated | Remove secondary requests and establish the main composition |
Keep the prompt that produced your last acceptable image. Change the instruction tied to the most important remaining problem, then inspect both the corrected detail and what should have stayed the same. That gives the next generation a clear purpose—and gives you a clear reason to accept or reject it.