

Loading...

Seedream Image Editor

Mode
Images
0 / 10
0/5000
Aspect Ratio
Resolution
Output format
Advanced Settings (Optional)
Background
Required credits
4

Sample Images

Three variations of a portrait with different styling and backgrounds

Seedream Image Editor

Start with a photo you already like and describe what you want to change. Seedream Image Editor opens in Image to Image mode with Seedream 5.5 selected, ready for an uploaded portrait, product shot, or scene. Use a text instruction to explore a different background, adjust an object, or try a new visual style. Name the details you want to retain alongside the change, then compare the new image with your source before downloading your preferred version.

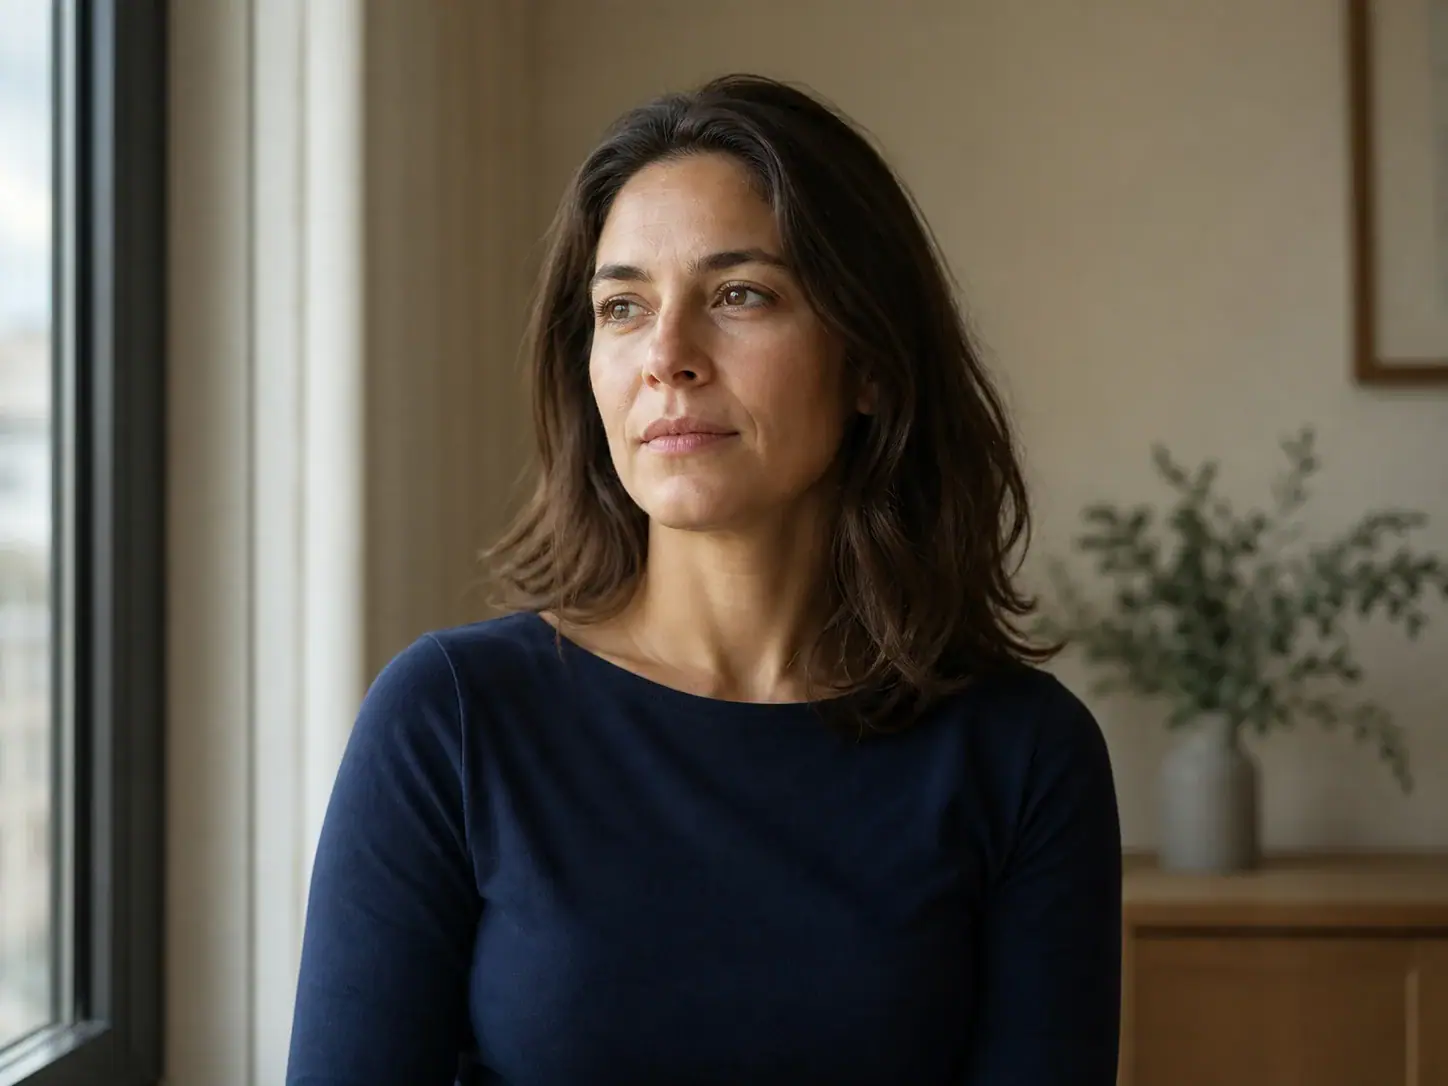
A softly lit portrait beside a window

How to edit an image with Seedream

Prepare a source image and one clear editing instruction. The workbench above brings your upload, prompt, settings, and finished result into the same place.

  1. Upload the image you want to change

    Choose a source with the subject clearly visible and enough surrounding space for your intended edit. For a product, use a view that shows its shape and label. For a portrait, choose a photo with a visible face and the pose you want to retain. Add the image in the upload area and wait for it to finish loading. Start with one source when you are changing a single photograph.

  2. Describe the change and what stays

    Write the change as a direct instruction, then specify what should remain. For example: “Replace the busy background with a light gray studio wall. Keep the person’s face, hairstyle, pose, and blue jacket.” Referring to a visible object is more useful than asking for a vague improvement. If several objects look alike, identify yours by its position or color so the instruction has a clear target.

  3. Generate, compare, and download

    Choose the output shape and resolution, review the credit amount shown in the workbench, and sign in when prompted to generate. When the result appears, check the requested change first, then inspect the details you wanted to preserve. Download the version you prefer. For a further edit, upload that saved version and describe the next change, keeping a copy of your original so you can return to it.

Give familiar images a different direction

Use these editing approaches when the subject is already right but the setting, presentation, or visual treatment needs another pass.

Build a new setting around a product

A product photograph gives your edit a concrete starting point: the bottle, packaging, or object you already have. Describe the surface, background, and lighting you want around it. Try “Place the bottle on a pale stone counter beside a window; keep the bottle shape and printed label.” Specify the direction of the light if the new setting needs a particular mood. For a shop listing, inspect label spelling, proportions, and contact shadows at full size before using the image. For an ad concept, you can explore a more expressive environment while keeping the product easy to recognize.
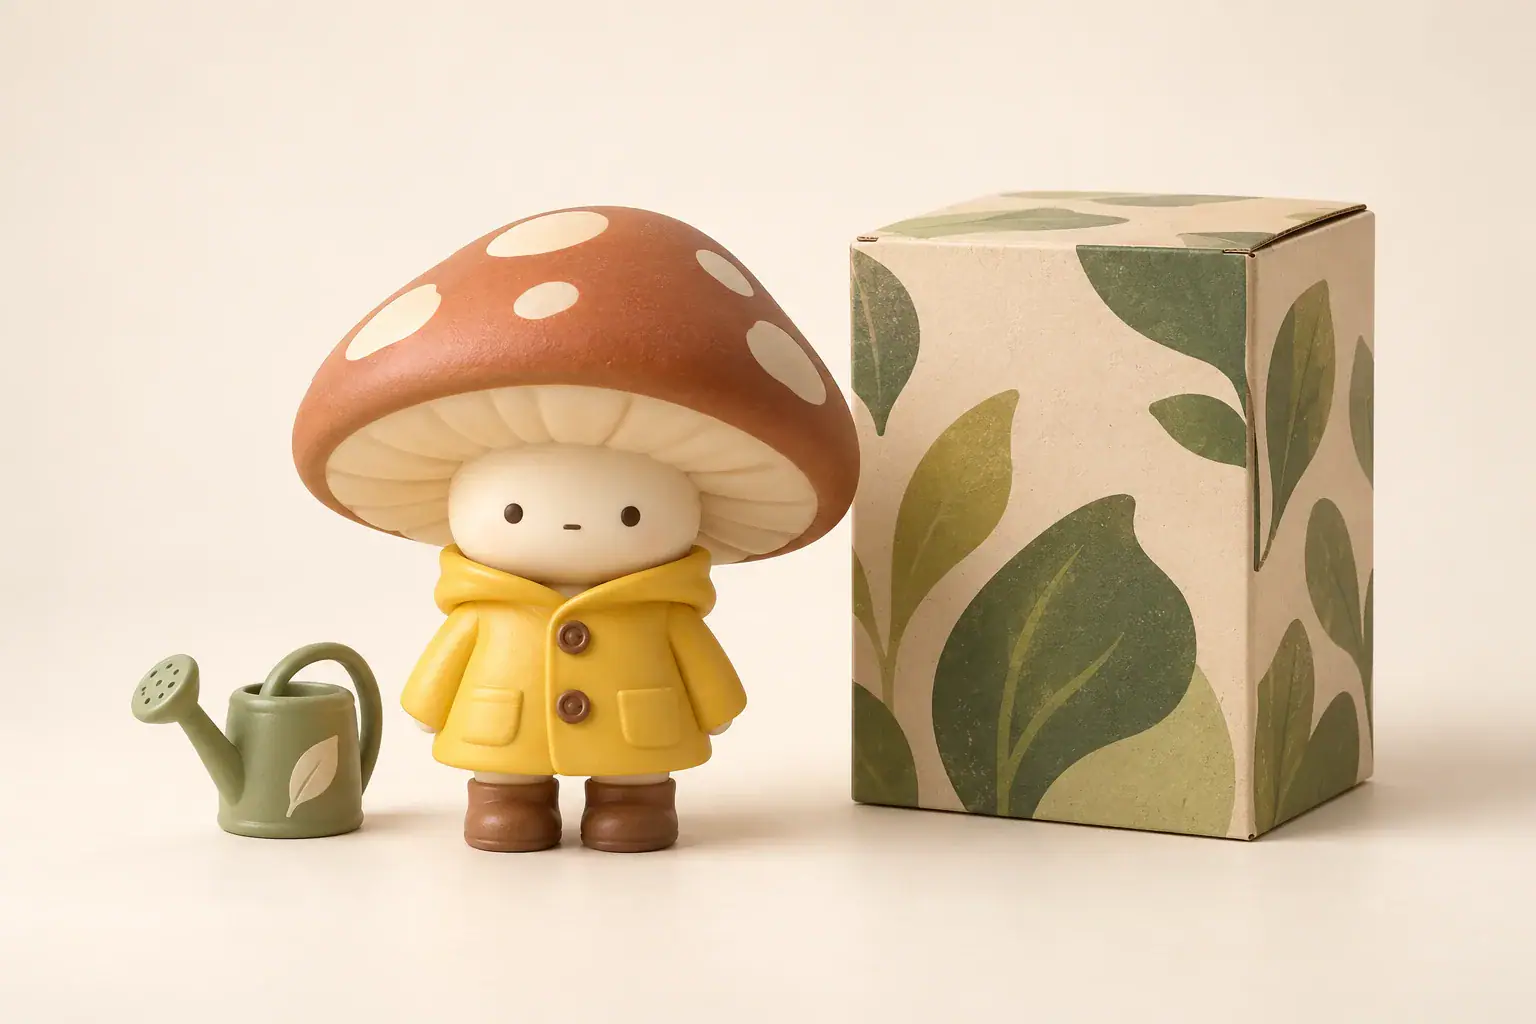

Edit a product image
A mushroom gardener figurine beside a leaf patterned box

Restyle a photo with a specific reference

Use Seedream photo editing to explore how an existing photograph might look with a different visual treatment. Describe recognizable qualities such as soft window light, muted colors, or a painted texture instead of asking for a generic cinematic effect. If you add a style reference, explain its role: keep the subject and framing from the main photo, but use the second image for its colors and lighting. A reference should guide a particular decision. You can then judge whether the result fits a profile picture, editorial layout, or social post by viewing it at the size where people will actually see it.

Restyle a photo
A silver sailboat under an amber moon

Make a focused change to a scene

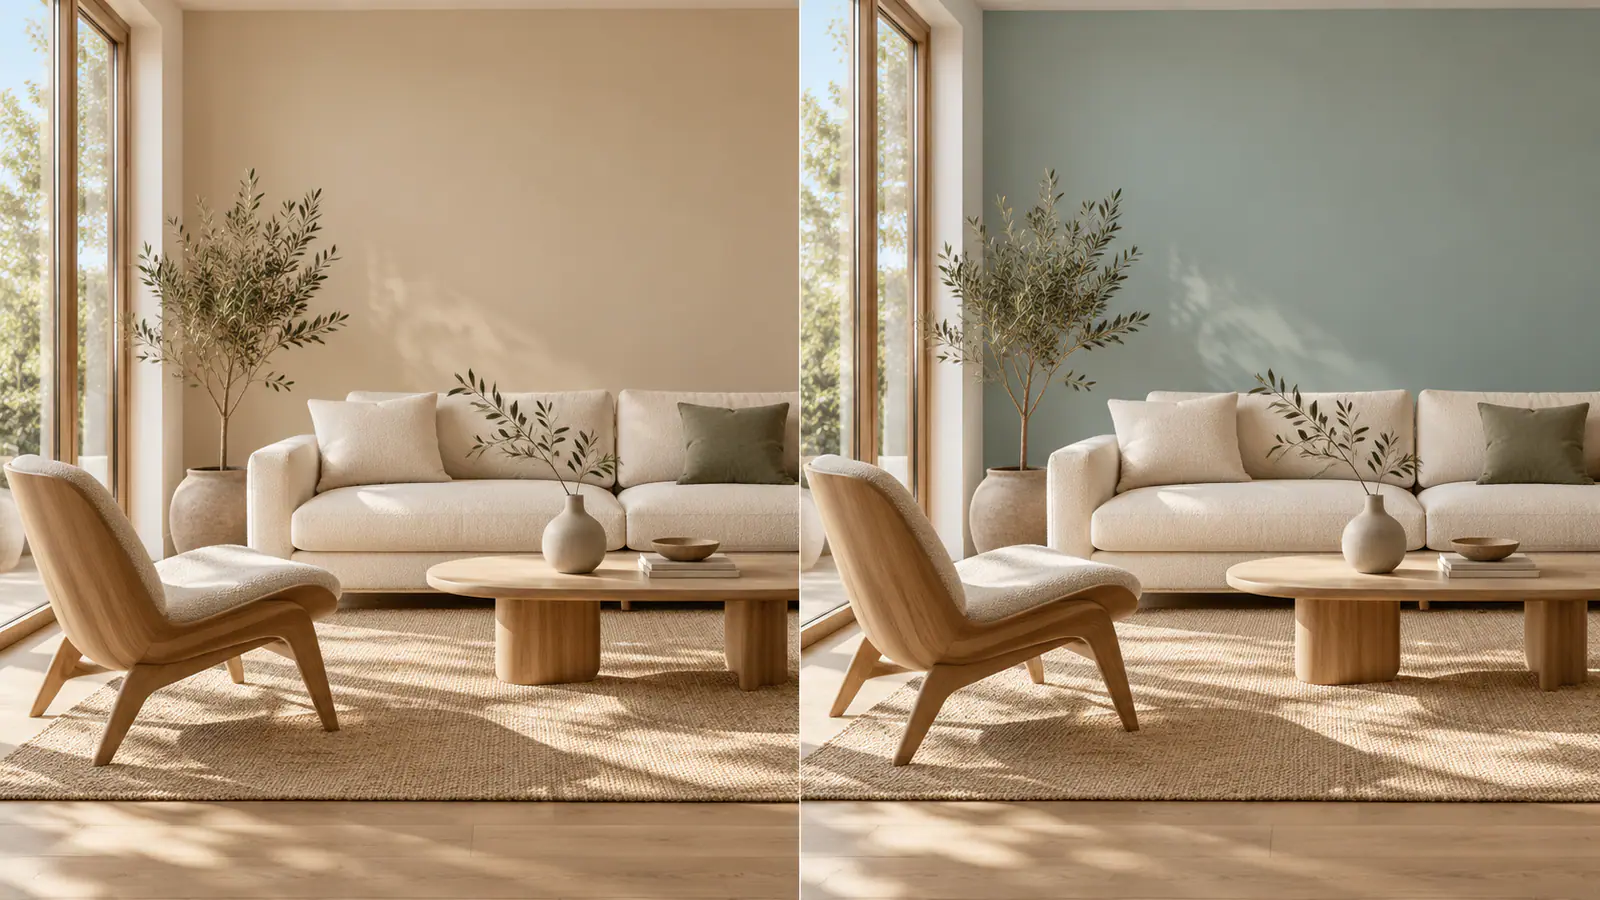
For an interior or outdoor scene, pick one visible element to update before changing the entire composition. You might recolor a wall, replace a chair, or remove a small distraction. Describe the target and the surrounding details to retain: “Change the back wall to warm beige; keep the sofa, floor, windows, and camera angle.” After the edit, compare straight edges, shadows, and the placement of nearby objects. When exploring several options, make each alternative from the same original image. That makes it easier to judge the actual design choice without mixing in changes from earlier versions.

Edit a scene
Two views of a living room with different wall colors

Make each editing decision easier

A few deliberate choices help you direct the edit and evaluate the result without writing a long prompt for every attempt.

Give each reference a job

With Seedream 5.5 selected, this editor accepts up to 10 reference images. Add another only when it supplies something useful, such as a specific object, palette, or setting. Describe which image supplies which element. A smaller, clearly explained set is easier to direct than several pictures that suggest conflicting subjects or styles.

Choose the shape for its destination

Match the aspect ratio to the place you plan to use the image: a square for a compact tile, a portrait for a tall layout, or a landscape for a wide banner. If you want to retain the original composition, choose a similar ratio and say which edges or objects need to remain in frame.

Check the cost for your settings

Generation uses account credits. Read the current amount in the workbench after selecting your model and output settings, and check your balance before submitting. Comparing a small number of purposeful edits helps you choose a direction before making more variations. The price displayed for your selected settings is the relevant amount for that request.

Keep useful versions organized

Download the original and your preferred edits with names that identify the change, such as wall beige or portrait soft light. Keep a version before each major change. When a later edit moves away from your preferred look, restarting from that saved image gives you a clearer starting point than trying to undo several changes in one instruction.

Seedream image editing questions

Answers about starting images, output choices, and the editing controls available in this workbench.

Yes. This page starts in Image to Image mode, so upload at least one source image and describe your edit. If you want to create a new picture entirely from a written idea, use the main generator instead. Your uploaded image gives this workflow its starting subject and composition.

Seedream 5.5 is the default model for this page. The model selector shows the model currently in use; check it again if you switch to another option. Available reference limits, output sizes, and costs depend on that selection. The guidance on this page describes the default Seedream 5.5 setup.

Start your next Seedream image edit

Choose a photo with a detail you want to change, upload it above, and describe the new version. Keep your original close so you can compare the result and decide what to refine next.