

Loading...

MiniMax H3 Video Generator

Mode
First Frame
0/7000
Aspect ratio
Duration
4s
Resolution
Required credits
32

Sample Videos

0:00 / 0:00

MiniMax H3 AI Video Generator for Text and Images

Turn a scene idea or a still image into a moving shot with MiniMax H3 on Seedream 5.5 Pro. Animate a product photo, bring a character into a setting, or explore a scene from a written prompt. Start with text, an opening frame, first and last frames, or reference images. Describe the action you want viewers to see, then choose the framing and length for your video.

Illustrative scene: Server placing a steaming bowl on a restaurant table.

Explore AI Video Models

Start with MiniMax H3 for this video, or explore another model page for your next creative idea.

How to Use the MiniMax H3 Video Generator

Build one shot around a clear visual moment. Choose your starting material, describe what changes on screen, and set the output for the place you plan to share it.

  1. Choose how your video begins

    Use text alone for an original scene, or upload a photo when you already have a composition to animate. Choose the frame mode to guide the opening and ending with separate images. Choose reference images when you want to bring a character, setting, or style into a new shot. Frame inputs and reference images are separate modes. Start with the material that answers your main creative question, and use images you own or have permission to use.

  2. Describe the action and camera movement

    In Prompt, name the subject, describe one main action, and then add the camera direction. Try: A server sets a bowl of noodles on an oak table. Steam rises as the camera moves slowly closer. Warm window light falls from the left. This tells the video what happens, where attention belongs, and how the shot should feel. If you upload an image, spend the prompt on movement and timing instead of listing every object already visible.

  3. Set the video and generate

    Choose a duration from 4 to 15 seconds and a resolution of 768p or 2K. For a text-only scene, select an aspect ratio that fits your destination; an opening image supplies the composition for an image-led shot. Check the displayed credit cost, sign in, and select Generate. Open the completed video to review it, then download the version you want to use. Keep the prompt with the clip so you can return to the same idea for another edit.

MiniMax H3 Video Ideas for Text, Photos, and References

Give each source a different job: text describes a new scene, an opening image anchors the composition, and references guide the look of a new shot. Here are three briefs to adapt to your own project.

Text to Video: Tell a Story in One Moment

Use MiniMax H3 text to video for a storyboard beat, an opening shot, or a short social scene that starts as an idea. For a restaurant post, focus on a bowl arriving at the table: hands enter the frame, the bowl settles, and steam draws attention to the food. Specify a close view if texture matters, or a wider view if the setting carries the story. Give the action a beginning and an ending so the clip has a useful place to cut. Save longer story developments for the next shot.


Create a scene from text
Illustrative scene: Steam rising from a bowl of noodle soup on an oak table.

Image to Video: Add Motion to a Still

Use MiniMax H3 image to video when a photo or illustration already gives you the subject and framing. A lake photo can become a quiet establishing shot with ripples moving across the water and a steady mountain horizon. For a product image, try a gentle camera move past the object while its position stays fixed. Name what moves and what stays still. Leave room in the source image for the action: a dancer stepping sideways needs space beside the body, while a close-up of fabric may need only a small movement.

Animate a starting image
Illustrative scene: Gentle ripples on an alpine lake beneath a steady mountain horizon.

Reference to Video: Bring a Character into a Scene

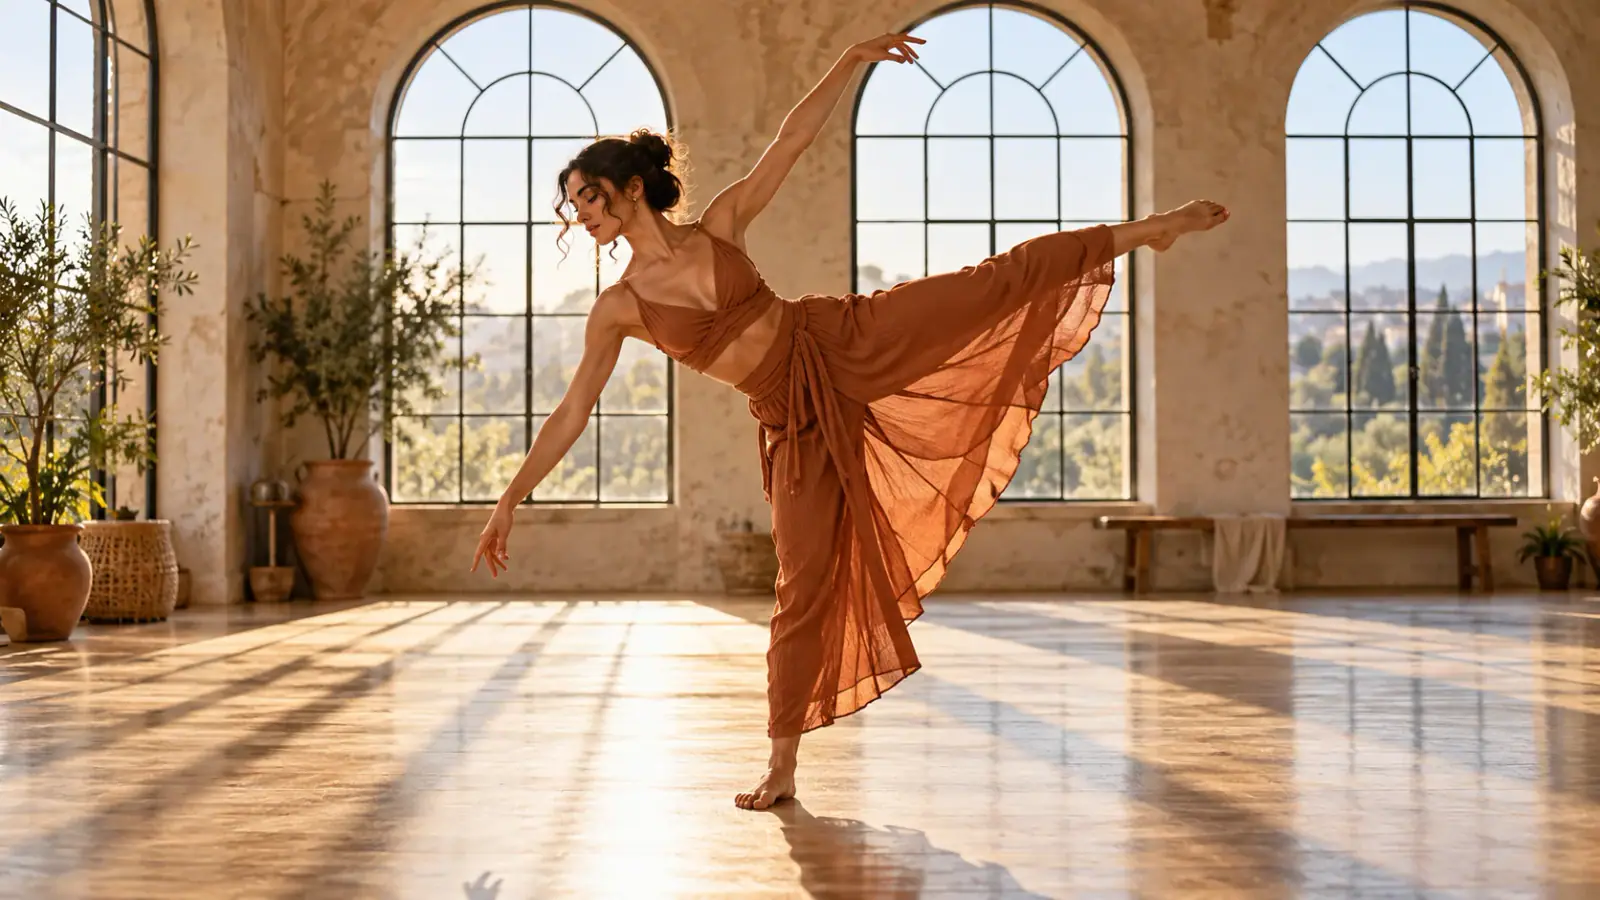
Use reference images when the new shot needs visual details from more than one source. For a dance concept, one image can supply the performer's terracotta outfit while another supplies a sunlit rehearsal room. In the prompt, identify the role of each image, then describe a short action such as a turn followed by a pause. Choose references with a clear view of the details you want to carry over. When sources show different lighting or poses, specify the intended scene so the brief gives one coherent direction.

Create with reference images
Illustrative scene: Dancer in a terracotta outfit in a sunlit rehearsal studio.

Shape Your MiniMax H3 Video Before Generating

Match the shot to its purpose: choose a useful frame, give the action enough time, select the output size, and decide how sound will support the scene.

Frame the Subject for Its Destination

For a vertical social post, keep the important action near the center and leave space for interface overlays or captions. For a wide product banner, place the subject where it will remain visible beside your page text. Plan the whole camera path, not just the first frame: a sideways move can bring background details into the area you reserved for a headline.

Give Each Action Time to Read

A quick reveal and a walk across a room need different pacing. Describe the opening position, the main movement, and a brief settling moment at the end. For a product reveal, that final pause gives viewers time to recognize the object. If your idea includes a location change or a second event, make it a separate shot and join the clips in your edit.

Choose 768p or 2K for Your Layout

Choose the output size for where the clip will appear. A small inset on a page and a full-screen presentation have different viewing needs. When you plan to crop the footage, consider the space you need around the subject as well as the resolution. Review fine details at the intended display size before placing text, logos, or other graphics over the video.

Connect Sound to the Scene

MiniMax describes H3 as generating video with native stereo sound. In your scene brief, give sound a clear role: footsteps can mark a character's approach, while water or room ambience can set the background. Decide where your final narration or music should enter. Leave a visual pause around an important spoken line so the finished edit has room for both the action and the words.

MiniMax H3 Reviews from Creators

Creator feedback on planning and developing video projects with MiniMax H3.

  • Product Details Held Up Well

    I used MiniMax H3 to explore a close-up shot of a skincare bottle turning under soft studio light. The shape and label placement stayed closer to my reference than I expected in the usable frames. I still inspected the lettering carefully, but the clip helped us evaluate a product-video direction without a studio setup.
    Claire JensenBeauty Brand Designer
  • A Detailed Brief Was Worth Writing

    For a fantasy alley scene, I described the environment, character movement, and background sound in one focused brief. MiniMax H3 gave me enough visual and audio context to assess the mood together. The useful part was not skipping creative decisions; it was being able to test those decisions in one draft.
    Owen FletcherConcept Artist
  • Useful for a Game Teaser

    I needed a short teaser for an indie game, with a character entering a dim room and reacting to something offscreen. MiniMax H3 helped me test the timing, framing, and atmosphere before we committed to animation work. I treated the result as a visual pitch, and it made the team's feedback more concrete.
    Liam ChenIndie Game Developer
  • The Revised Action Read Better

    My first prompt had a character running, turning, and speaking almost simultaneously. The action felt crowded, so I separated the beats and made the camera direction simpler. The next MiniMax H3 test was easier to understand. It reminded me that a strong reference and clear blocking matter as much as descriptive language.
    Isabel RomeroAnimation Director
  • Audio Helped Me Review the Scene

    I was evaluating a brief for a museum installation and wanted to hear how the ambience supported a moving image. Having a generated clip with sound gave me something I could judge as a whole. I could then note which visual moments needed more space before taking the idea into production.
    Henry WallaceExhibition Media Producer
  • Faster Alignment on a Visual Concept

    Our team was debating how a packaging reveal should feel, and static mockups weren't resolving it. I made a few MiniMax H3 concept clips with different lighting and motion directions. That gave everyone a shared reference for the conversation. We still refined the final approach, but the early discussion became much more productive.
    Priya ShahBrand Creative Lead

MiniMax H3 Video Generator FAQ

Find answers about starting images, reference modes, credits, and assembling your clips into a finished video.

Choose a photo with a clear subject and enough space around the part that will move. Keep hands, faces, and product edges visible if they matter to the shot. If the crop cuts through the intended action, adjust the source image first. The image creation tool on Seedream 5.5 Pro can help you prepare a new starting composition before you return to this video page.

Create each shot separately, then arrange the clips in a video editor. Give each shot a purpose, such as introducing a place, showing an action, or revealing a detail. Keep notes about wardrobe, lighting, and camera direction across the sequence. Trim the in and out points after you place the shots together so the story has a consistent rhythm.

Create Your Next MiniMax H3 Video

Bring a scene idea or an image to Seedream 5.5 Pro. Describe one clear moment, choose your video settings, and use MiniMax H3 to turn the brief into a clip for your next post or project.