
Loading...

Seedream 5 Pro Image Generator

Mode
0/5000
Aspect Ratio
Resolution
Images
Required credits
14

Sample Images

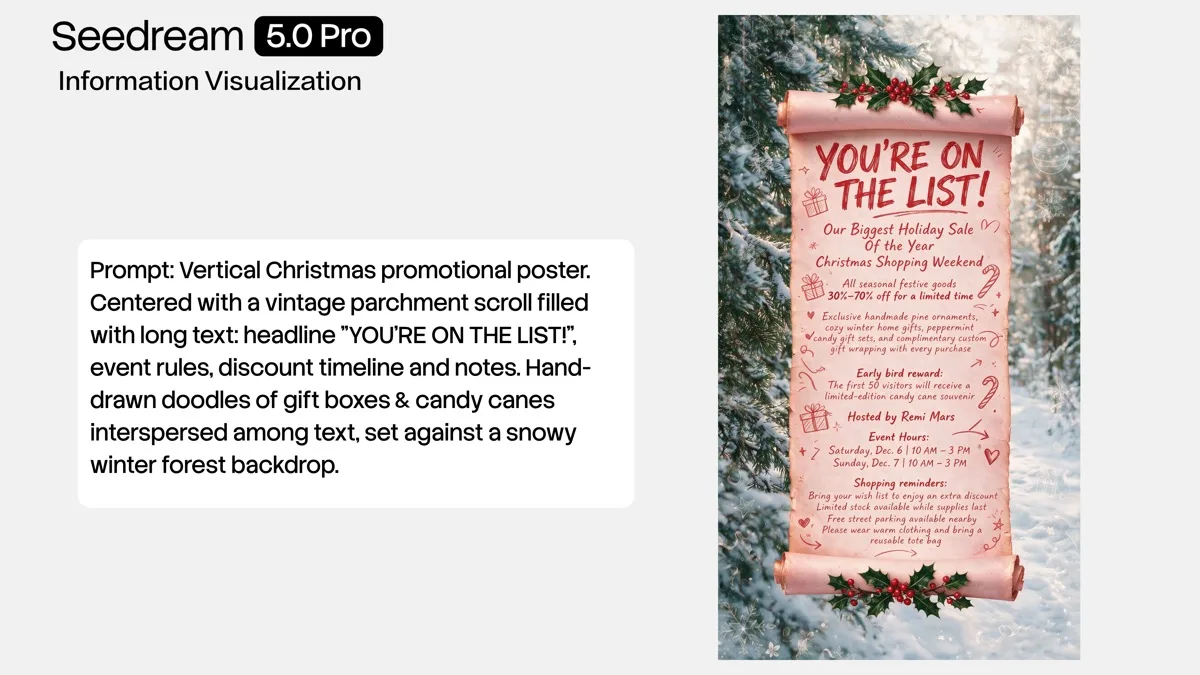
Winter sale poster beside its design brief

Seedream 5 Pro AI Image Generator

Turn a written brief into a picture, or bring an existing image into a new direction with Seedream V5 Pro. This workspace starts with the Pro model selected and supports both text prompts and reference images. Use it to explore a structured infographic, a room makeover, or a photographic scene. Start with the message you want someone to understand, then describe the subjects, arrangement, and atmosphere that will carry it. A useful first image gives you something concrete to compare, revise, and download for your next layout.

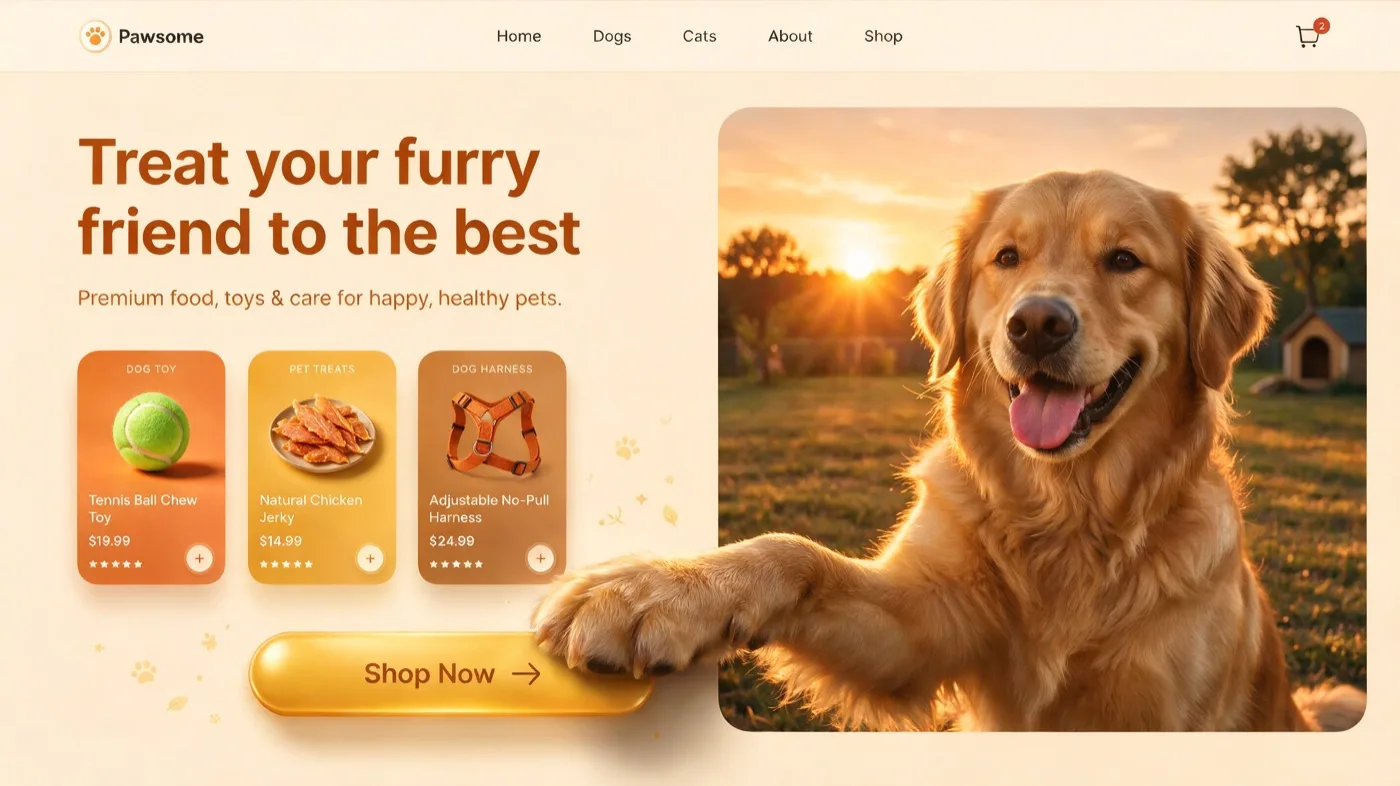
Pet store homepage concept with a golden retriever and product cards

How to Use Seedream V5 Pro

Build the first version around one clear brief. These three steps take you from your source material to a result you can assess against the job it needs to do.

  1. Choose text or Image to Image

    For a new composition, describe the subject directly in the prompt. For Image to Image, add a reference that shows the object, person, or layout you want to work from. Choose a source with a clear subject and enough surrounding space to explain the setting. If you add several references, identify the role of each in your instructions: one can guide the room, another the furniture, and another the colors. Keep unrelated pictures out of the set so your brief remains easy to follow.

  2. Set the frame and describe the change

    The Pro starting settings are 4:3 and 2K. Change the aspect ratio before generating if your destination is a vertical story, a square card, or a wide banner. In the prompt, separate the main subject from its surroundings and name the most important detail first. For an edit, say what should change and what should stay: replace the chair fabric with dark green velvet while keeping the camera position, floor, and window light. Review the credit estimate beside Generate after choosing your settings.

  3. Compare, refine, and download

    Sign in to generate, then review the image in the results area. Check the main composition first, followed by text, small objects, and the details that matter to your brief. Keep a promising version and change one instruction for the next attempt, such as the amount of empty space or the direction of the light. Download the version you want to use. For a campaign layout, preview it at its final display size before adding the rest of your page or presentation around it.

Three Briefs to Explore with Seedream V5 Pro

Give each image a specific communication job. A diagram needs a reading order, an edit needs a defined target, and a photographic scene needs a point of view.

Turn information into a visual hierarchy

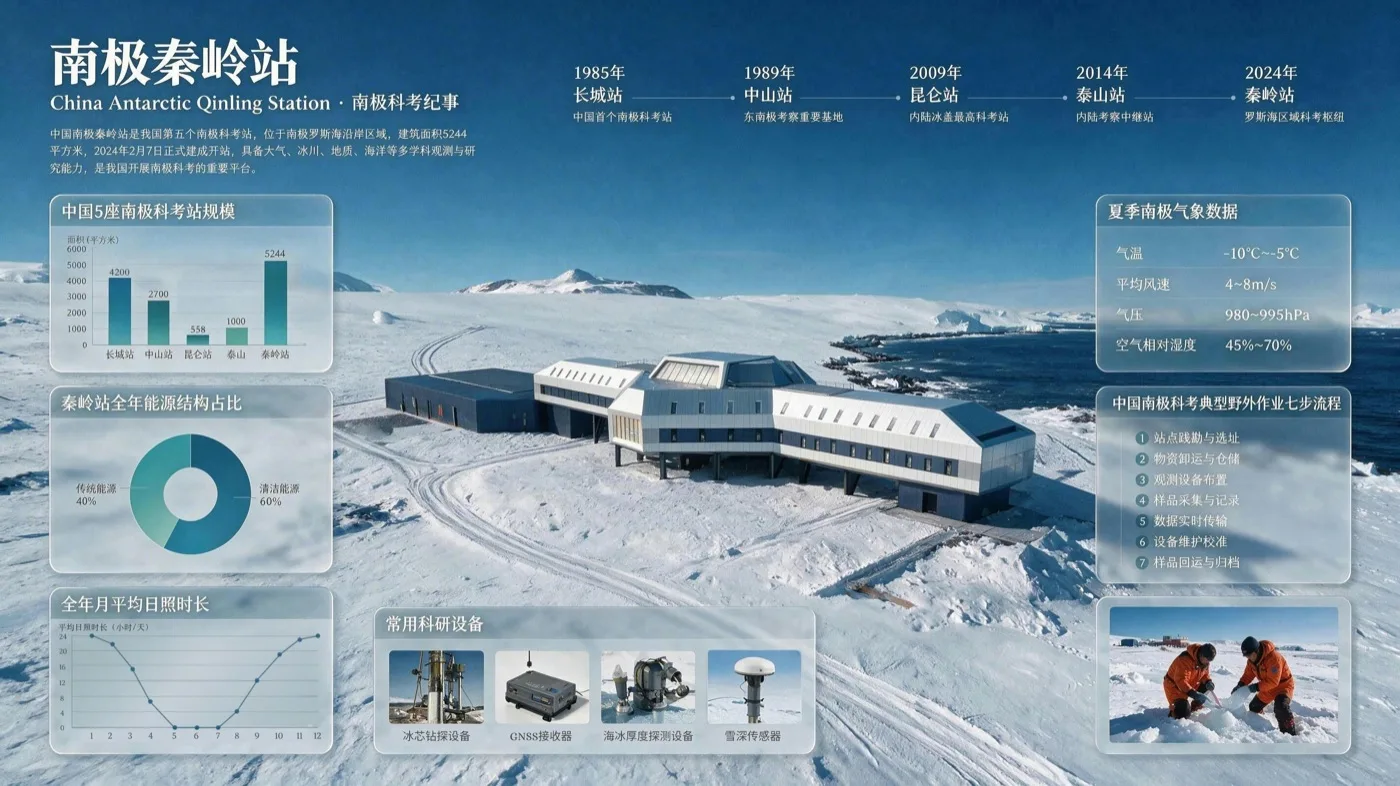
Plan a classroom graphic, a comparison card, or an illustrated explainer by writing the content before describing the decoration. Specify a headline, the sections beneath it, and the relationship between them. For example, ask for a guide to three indoor plants with a separate card for light, watering, and placement. Supply the facts and exact labels you want included, then describe a restrained palette and clear spacing. Seedream 5.0 Pro is designed for text-rich visual work; the strongest brief still starts with an organized message. Inspect names, quantities, and labels in the finished image against your source notes. For presentation use, keep the most important takeaway large enough to read from the back of the room.
Design an infographic
Antarctic research station infographic with charts and a timeline

Use Image to Image for a focused revision

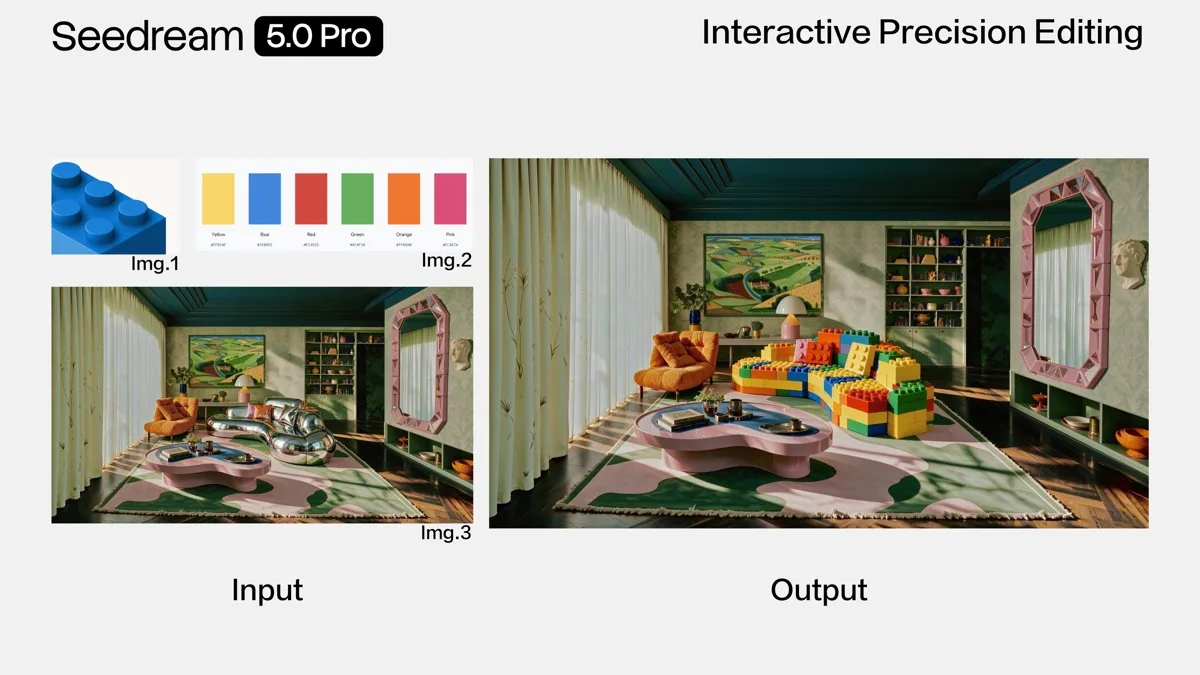
A reference image is useful when the starting arrangement already matters. Upload a room photo to explore a new material, or use a product composition to try a different setting. Describe the target with its position and appearance rather than relying on a vague instruction such as make it better. For a room, try changing only the central sofa to a warm woven fabric while keeping the wall art and daylight. With multiple images, explain which one supplies the main scene and which supplies the surface or color idea. Compare the revised object with the surrounding shadows and perspective. If you want another change, build the next instruction around that specific part instead of rewriting the whole scene.

Revise a reference image
Living room reference images and a sofa built from colorful toy bricks

Describe a photographic point of view

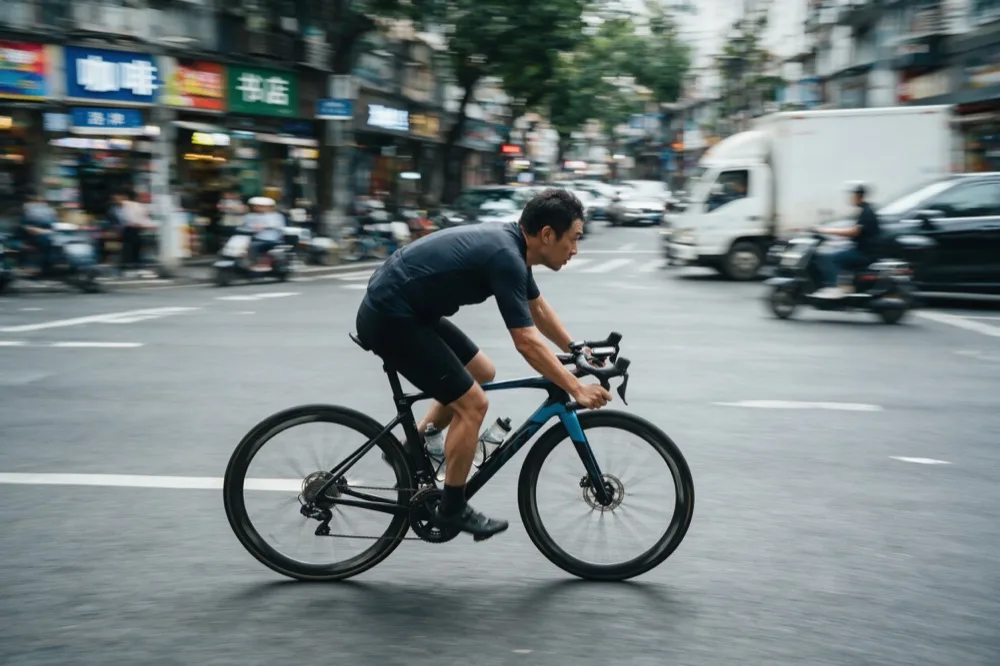
For photographic imagery, a scene becomes easier to direct when you choose where the viewer is standing. Describe a close portrait, a street-level action shot, or a wide environmental view, then add a light source and a moment. A cyclist photographed from the side on an overcast street has a different visual rhythm from a front-facing studio portrait. Specify whether the background should stay detailed or soften around the subject. For a product, name the material and the surface beneath it so reflections have a clear context. Review edges, hands, reflections, and repeated objects at full size before choosing the picture. Keep the framing that serves the story rather than adding every attractive detail to one prompt.

Create a photo concept
Side view of a cyclist moving through a city street

Choose Settings for the Image You Need

Use the controls to fit your destination and budget, then keep the settings stable while you compare creative changes.

Give references distinct roles

This workspace accepts up to 10 reference images for Seedream 5 Pro. Use that space for complementary guidance, such as a subject, a room, and a material sample. More references are useful when they answer different questions, and Seedream 5 Lite accepts up to 14 of them at 2K or 3K. Start with the smallest set that explains your idea and add another image only when it supplies a missing visual detail.

Pick a shape before a resolution

Choose from eight aspect ratios, including 1:1, 4:3, 3:4, 16:9, 9:16, 2:3, 3:2, and 21:9. Seedream 5 Pro offers 1K and 2K here. The aspect ratio determines the composition; resolution determines the output tier. Leave room around important faces, lettering, and objects when the final design will crop the image.

Check credits before generating

Use the estimate in the workbench for the settings you have selected. It is the relevant figure when deciding whether to try another version or change the output tier. If your account needs credits, visit Pricing and return to this page afterward. Keep your best prompt so each additional attempt tests a deliberate change.

Review the image in its final setting

A readable full-size image can feel crowded inside a small card. Place your download in the intended slide, social layout, or webpage and inspect the actual crop. Check the headline and subject at that size. Keep editable headlines in your design tool when you expect frequent wording changes, and use the generated image for the visual composition.

Seedream 5 Pro Questions

Answers for choosing the model, preparing a brief, and planning the next revision.

Seedream 5 Pro is the shorter model name used in this workspace for Seedream 5.0 Pro. It is a separate choice from Seedream 5.5 and Seedream 5 Flash. This page opens with Pro selected; if you switch models in the workbench, use the settings shown for that selection.

Yes. Write a text prompt to create a new picture. Add references when a particular appearance or composition should guide the result. A short description with a clear subject, setting, and intended layout is a practical starting point; you can make the brief more specific after reviewing the first version.

Start Your Next Image with Seedream V5 Pro

Bring one brief or a useful reference to the workspace. Choose the format for your destination, create a first version, and use that result to decide the next specific change.