
Loading...

Character Sheet Generator from One Image

Images
Sheet layout
0/5000
Aspect Ratio
Resolution
Output format
Required credits
4

Sample Images

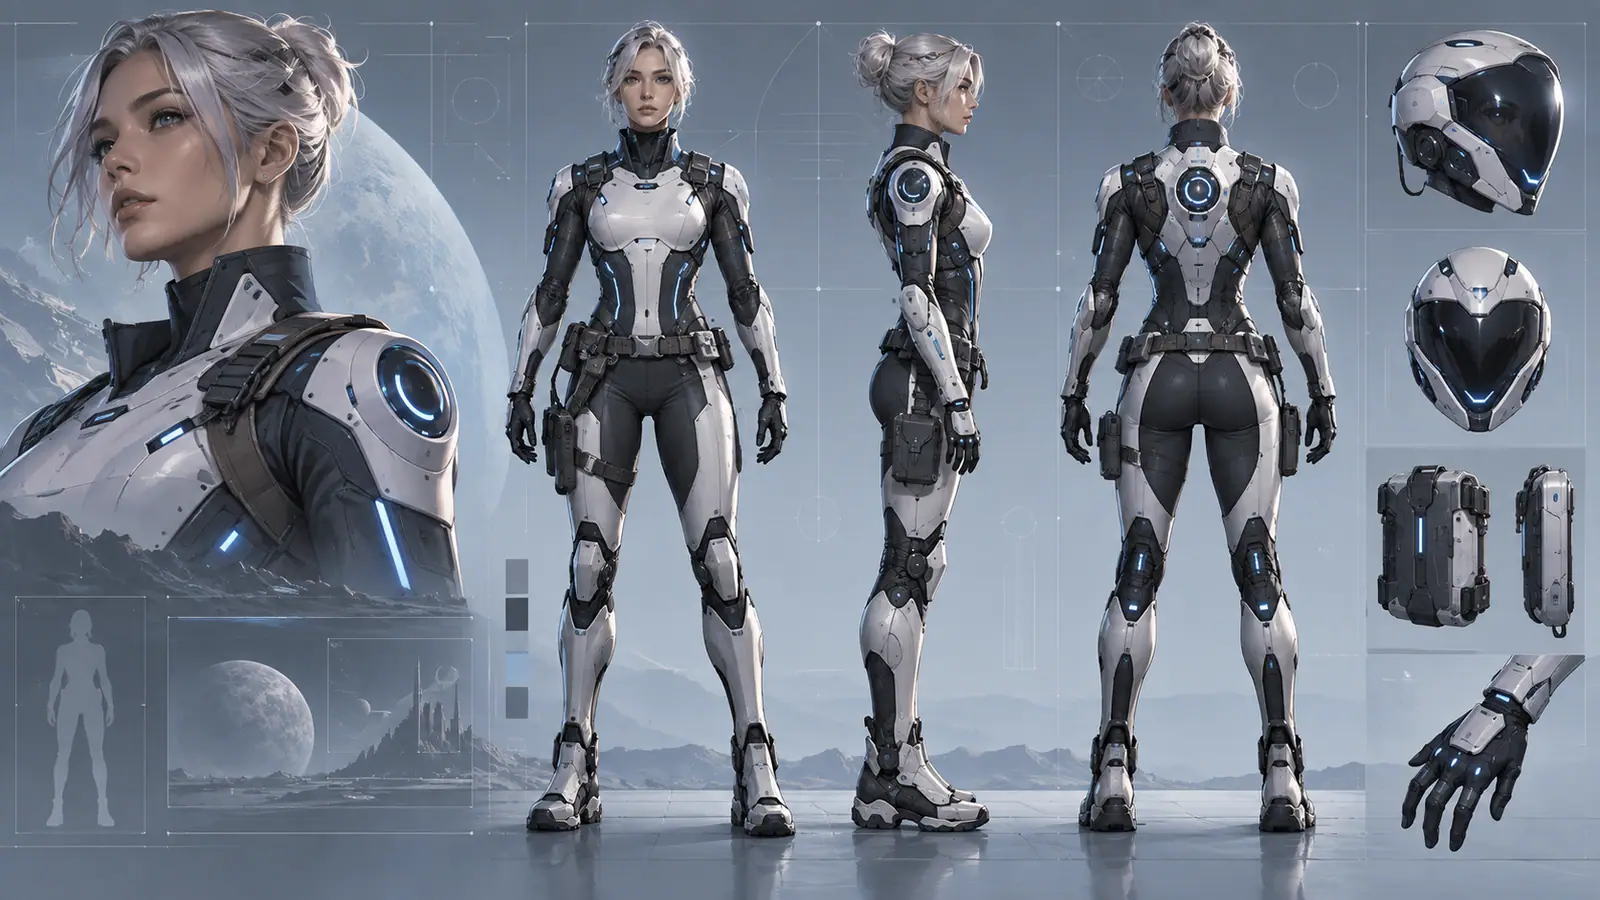
Portrait of a silver-haired character in white armor beside matching front, side and back full-body studies

How to Use the Character Sheet Generator

Give your character a reference you can return to throughout a comic, game or animation project. The AI character sheet generator on Seedream 5.5 Pro starts with one image and a choice of two layouts: front, side and back views, or a facial expression grid. Describe the details that define your character, then build a visual guide for the next drawing, scene or design conversation.

  1. Start with a readable character image

    Upload one image of the character you want to develop. For a turnaround, choose a full figure with the hairstyle, clothing and footwear visible. A relaxed standing pose makes body proportions easier to read than a crouch or a dramatic camera angle. For expressions, use a portrait where the eyes, brows and mouth are clear. Crop out unrelated characters before uploading, and keep useful features such as ears, horns or a tall hat inside the frame.

  2. Choose the views and describe key details

    Choose Front, side & back for a turnaround or Expression grid for portraits. Each preset fills the prompt with a layout you can edit. Select it before adding your own notes, because choosing a preset replaces the current prompt. Keep the instructions about panel order and framing, then add distinctive details such as a red scarf or a crescent clasp. Use a wide canvas for a row of figures and a square canvas for four portraits.

  3. Generate, compare and save your sheet

    Review the credit cost shown in the workbench, then select Generate and sign in when prompted. Open the result at full size and compare it with your starting image. Look first at the features you named in the prompt, then use the checks below to review the whole design. Download the sheet you want to keep. Save the source image and your prompt beside it so you can return to the same design brief when planning another sheet.

Choose Your Character Reference Sheet Layout

Use this character reference sheet generator to answer a specific drawing question. A turnaround explains the body and costume from different angles. An expression sheet explores the face during a scene. Keep those jobs on separate sheets when each needs room for detail.

Character Turnaround Sheet: Front, Side and Back

A character turnaround sheet helps you work out how a design continues around the body. Use the front view to establish the outfit, the side view to explore its depth, and the back view to resolve features such as a hood, backpack or coat opening. Ask for a neutral stance, equal figure sizes and a shared ground line. For a traveler with a bulky pack, specify how far the pack extends behind the shoulders. For a long coat, describe where the hem falls. These decisions give an illustrator concrete shapes to carry into later poses.
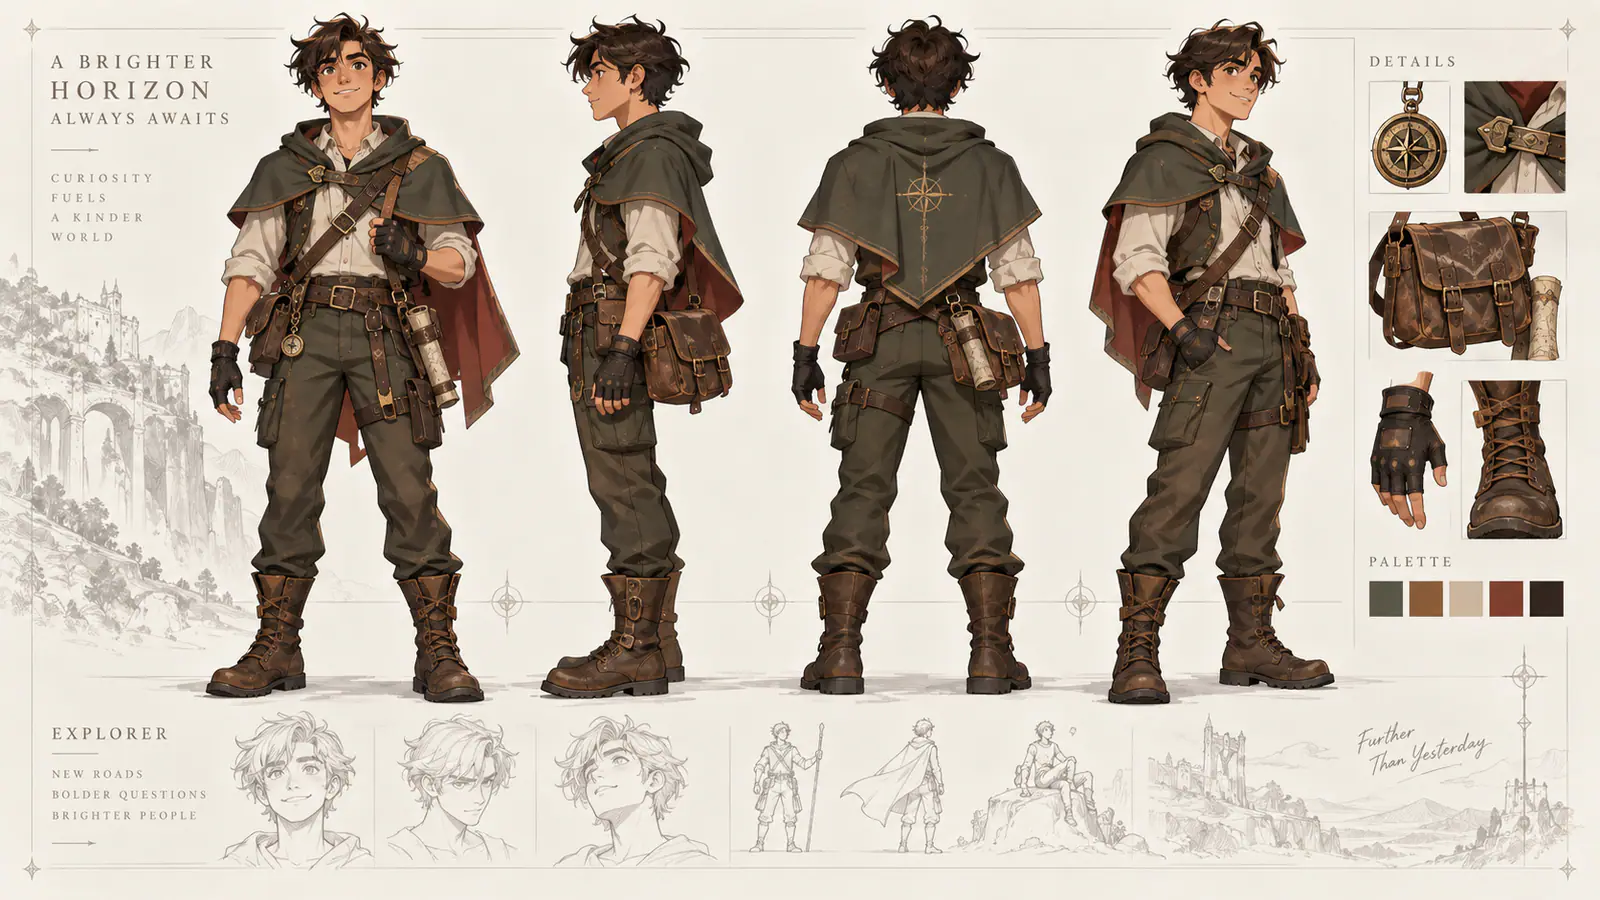
Traveler with a dark green cape and leather satchel shown from front, side, back and three-quarter angles

Character Expression Sheet for Dialogue and Reactions

Use a character expression sheet when a comic panel or dialogue scene depends on how a face reacts. The preset requests neutral, happy, angry and surprised portraits in a four-panel grid. Decide how strongly the character should show each emotion: a quiet smile tells a different story from an open laugh. Describe the visible gesture, such as raised inner brows or a slightly lowered chin, and keep the camera angle steady. For a reserved character, favor smaller changes around the eyes and mouth. For a lively mascot, explore broader reactions while keeping the defining face shape in view.

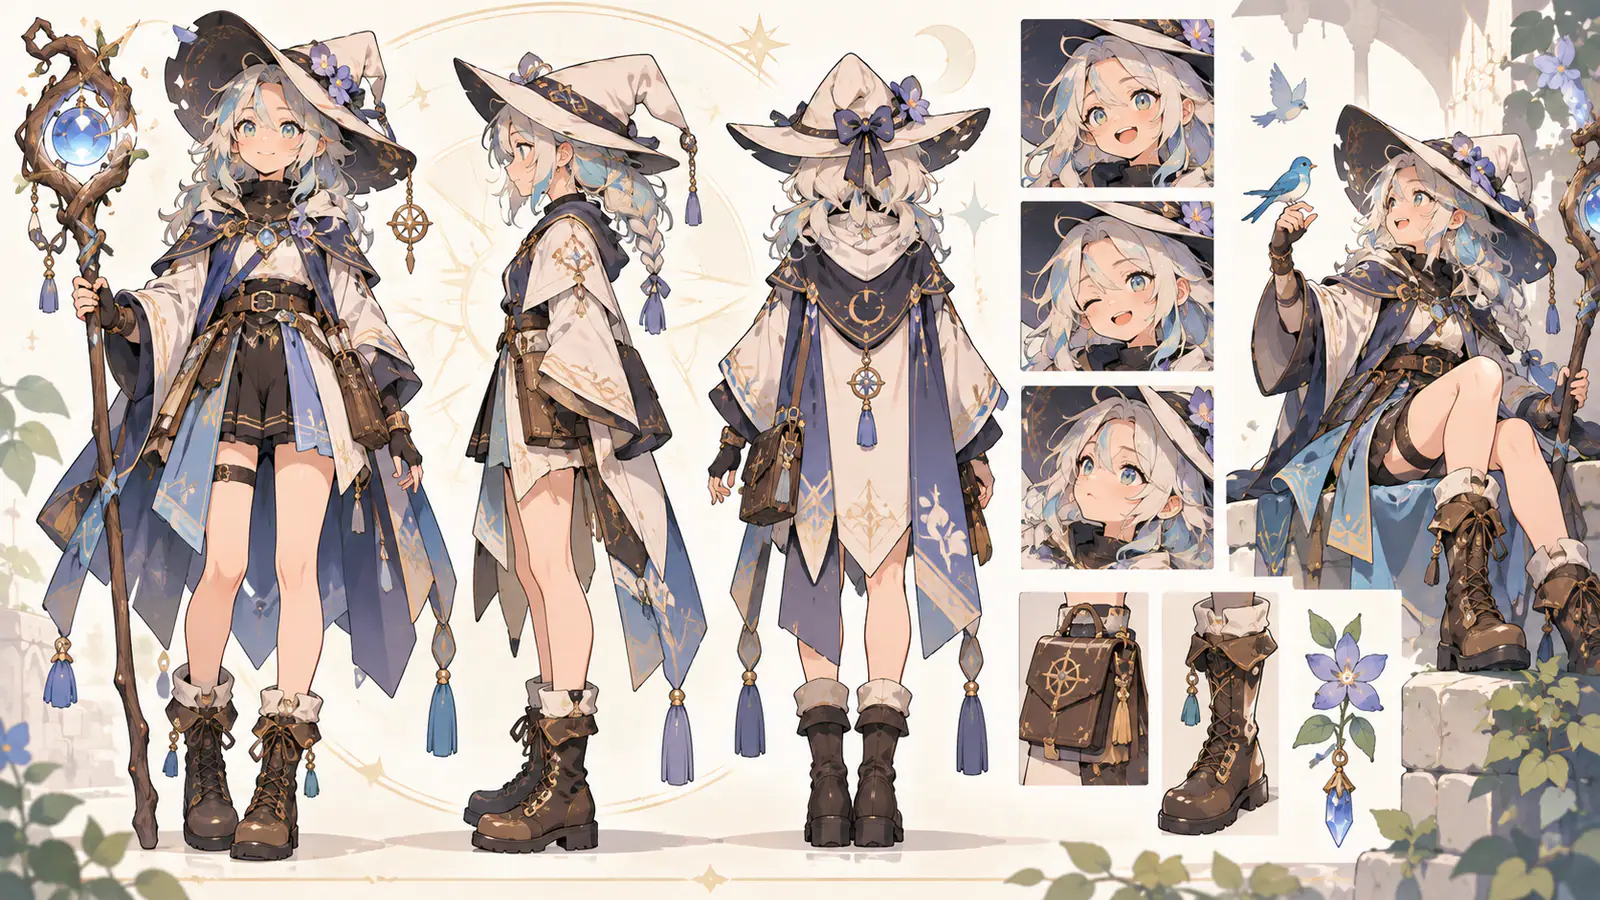
Blue-clad mage character sheet with front, side and back views and a column of facial expressions

Share a Clear Character Design Brief

Pair your chosen sheet with a short note about what the next artist needs to make. A game artist may need the outline to read at a small on-screen size; a comic artist may need the exact position of a hair clip across close-ups. Identify the approved outfit and any design choice still open, such as the fastening under a cape. Add a version date to the saved filename and keep earlier alternatives in a separate folder. This makes it easier to discuss a change without mixing an old costume with the current character design.

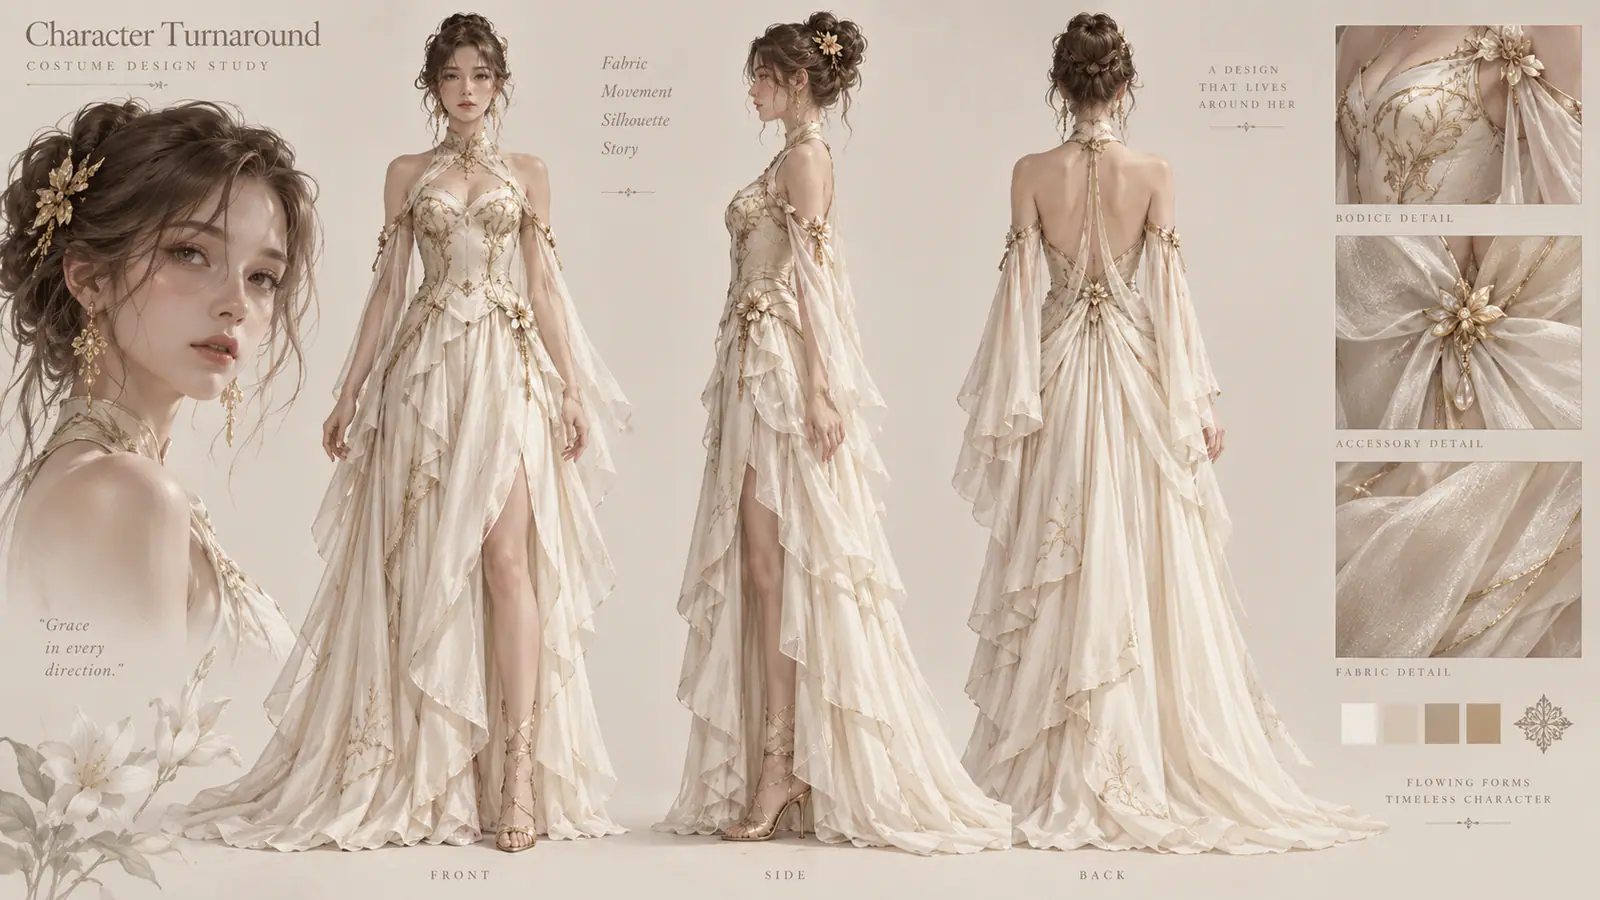
Ivory costume study with front, side and back views and close-ups of the fabric and fastenings

Review Character Consistency Before You Share

Compare matching features across the sheet, using your original as the design anchor. Work from large shapes to small details so you can turn each observation into a precise revision.

Compare the outline and body proportions

View the sheet as a thumbnail first. Can you recognize the same hair shape, shoulder width and clothing outline in each figure? Then enlarge it and compare the head, waist and knees against the ground line. A longer leg and a lower camera position can look similar at first glance. Checking several landmarks together helps you decide which instruction to adjust.

Match the palette to named garments

Check the same surface in each panel, such as the outside of a sleeve or the center of a boot. Separate a shadow from a change in the base color. If the scarf should be rust red, name both the scarf and the color when revising. For handoff, record your approved palette in the project brief so later drawings have a shared reference.

Trace accessories from the character’s perspective

Follow straps, fastenings and patterns around the body. A shoulder bag should connect to the same strap as the character turns. Describe left and right from the character’s perspective: a pin on their left lapel stays there in every view. Check portrait details the same way, especially a single earring, a scar or a hair part that makes the face recognizable.

Check framing, order and expression contrast

Read the sheet in the order you requested. Each full-body view needs space above the head and below the feet; each portrait needs a comparable crop. For expressions, compare the eyes and jaw with the neutral face before judging the emotion. Distinct eyebrows and mouth shapes help each panel communicate its intended reaction without relying on a label.

Character Sheet Generator Questions

Add those design choices explicitly. For example: “The back of the jacket is plain, the hair ends above the collar, and the belt continues around the waist.” Unseen areas are interpreted during generation, so use the rear view to settle any open choices. Keep your chosen details in the brief for subsequent sheets.

Name the panel, the object and the desired change while keeping the original reference. Try: “In the back view, remove the hood and keep the high collar.” Retain the layout instructions and generate another sheet. Compare the full set of views with your reference, checking the outfit, proportions and accessories together before choosing the version to save.

Create a Character Sheet for Your Next Scene

Bring your character to Seedream 5.5 Pro, choose the views your project needs, and turn one reference image into a sheet you can discuss, refine and share.