
Loading...

AI Product Photography Generator

Images
Scene
Lighting
Aspect Ratio
Resolution
Output format
Required credits
4

Sample Images

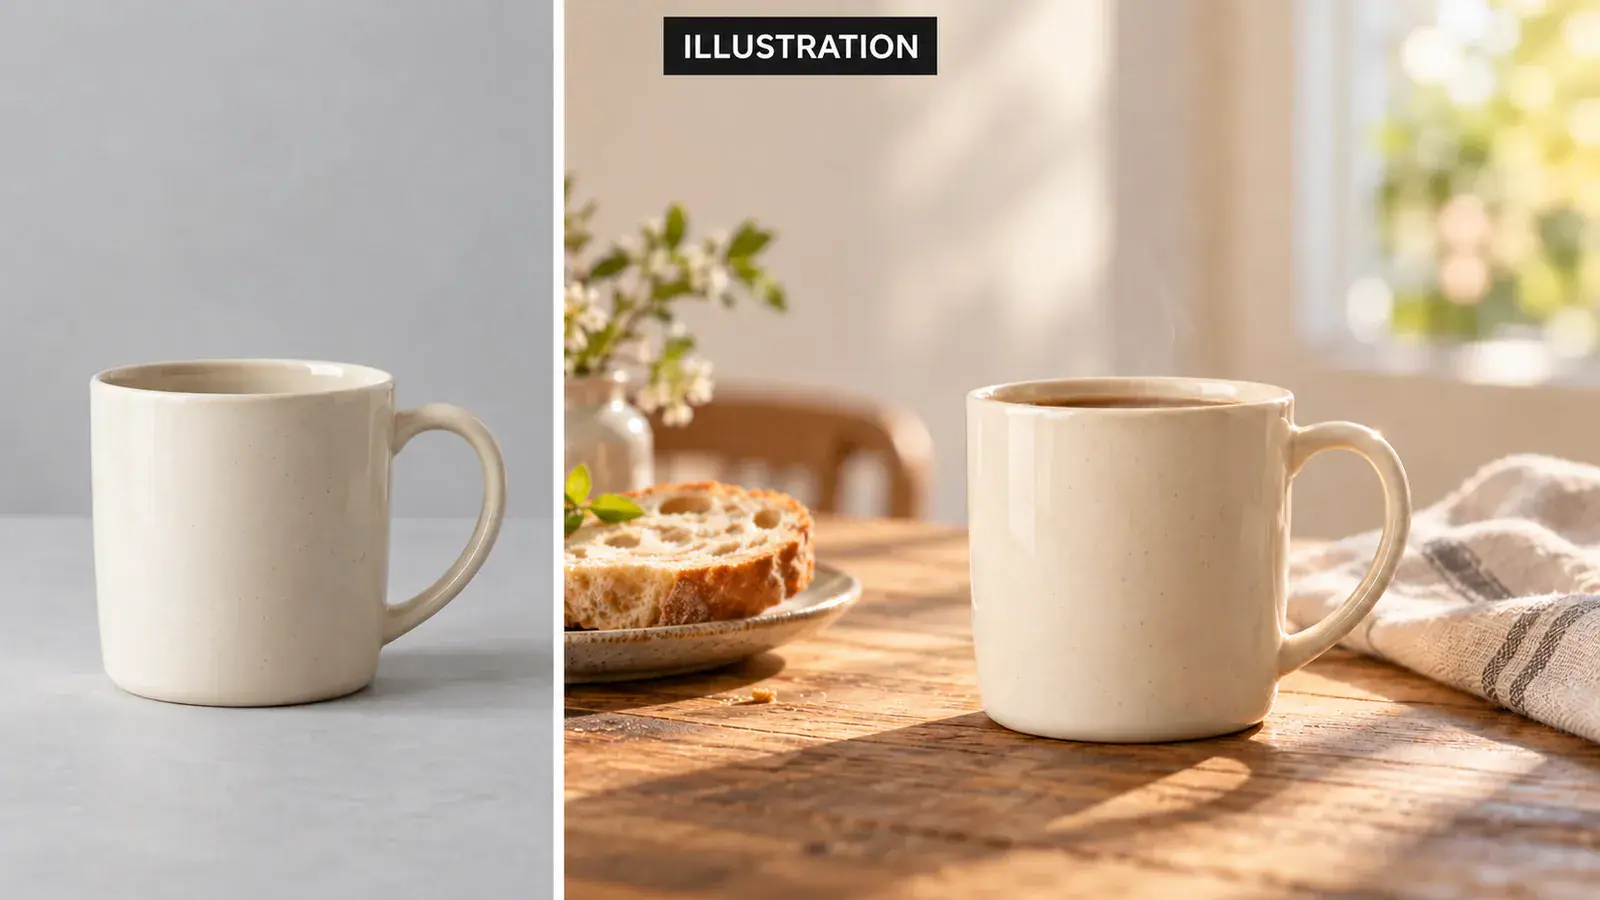
Illustration of a plain cream mug photo on the left and the same mug staged on a sunlit breakfast table on the right

How to create AI product photography from your photo

Give your next product launch a clear visual direction with the AI product photo generator on Seedream 5.5 Pro. Bring a photo of the item you sell, then choose a setting, lighting style and frame. Start with the image your store needs most: a focused catalog shot, an everyday scene or a wide composition for an offer.

  1. Start with a clear product reference

    Upload one photo showing the exact item, color and packaging you want customers to see. A phone photo is a useful starting point when the product is sharp and unobstructed. Leave a little space around handles, straps and lids, and face the most informative side toward the camera. For a gift set, arrange the included pieces so each is visible. Use a plain surface to make the outline easy to distinguish from its surroundings.

  2. Choose the scene, lighting and frame

    Choose Studio for a neutral setting or Lifestyle for a scene that suggests everyday use. Choose Softbox for soft, diffused lighting, Window light for an indirect daylight look, or Side light to emphasize form and texture. Select an Aspect Ratio for the intended placement: 1:1 for a square product tile, 3:4 for a portrait card or 16:9 for a banner. The scene and lighting choices let you start with a visual direction without writing your own photography instructions.

  3. Generate, compare and download

    Sign in, review the settings and credit amount, then select Generate. Open the finished image from the results panel to see the product at full size. Compare two scene choices using the same upload and frame before changing several settings together. This makes it easier to choose between a quiet studio look and a more contextual image. Download the version that fits your placement, and keep the source photo nearby for the detail review below.

Product photography for catalogs, lifestyle scenes and ads

Plan each image around a different shopper question. What is the item? Where would I use it? Why should I notice this offer? Use the AI product image generator to explore a composition for each purpose, then choose the images that belong together in your store or campaign.

Studio product photography for a cohesive catalog

When several products appear in a collection grid, a simple backdrop helps shoppers compare them. Start with Studio and repeat the same lighting and aspect ratio for related items. Aim for similar product sizes within the frame, with enough margin to keep the collection tidy at thumbnail size. For an object with a distinct handle or crank, side lighting can be a useful direction to explore. Judge the whole row together: one dramatically darker image can draw attention away from the item a customer is comparing.
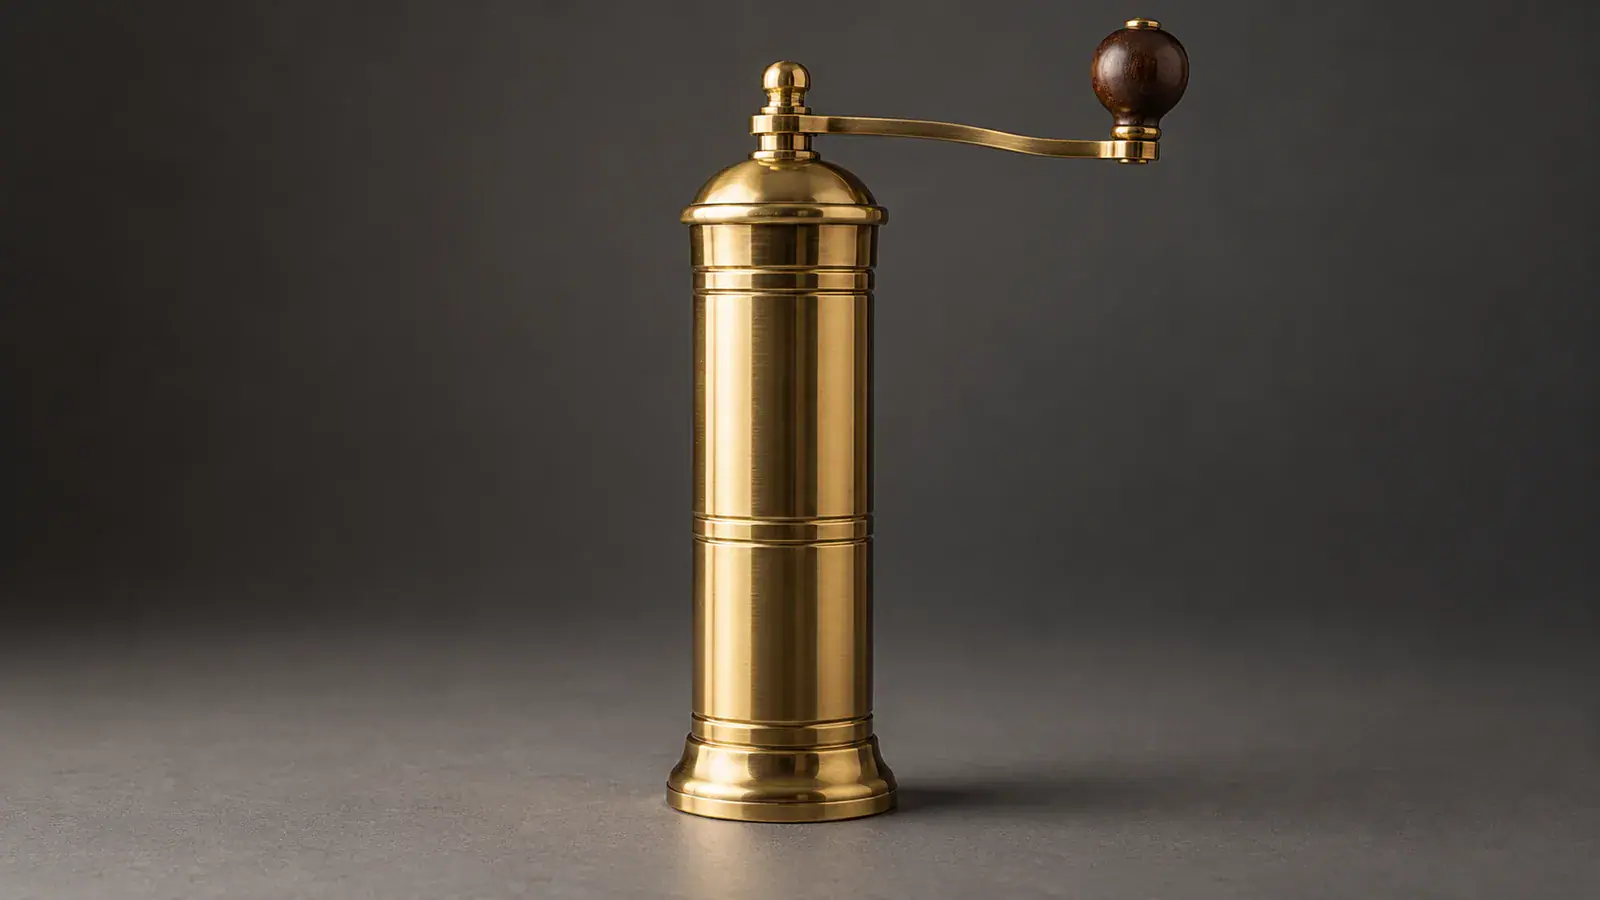
Brass hand mill with a visible crank and knob on a neutral studio surface

Lifestyle product photos that give a sense of place

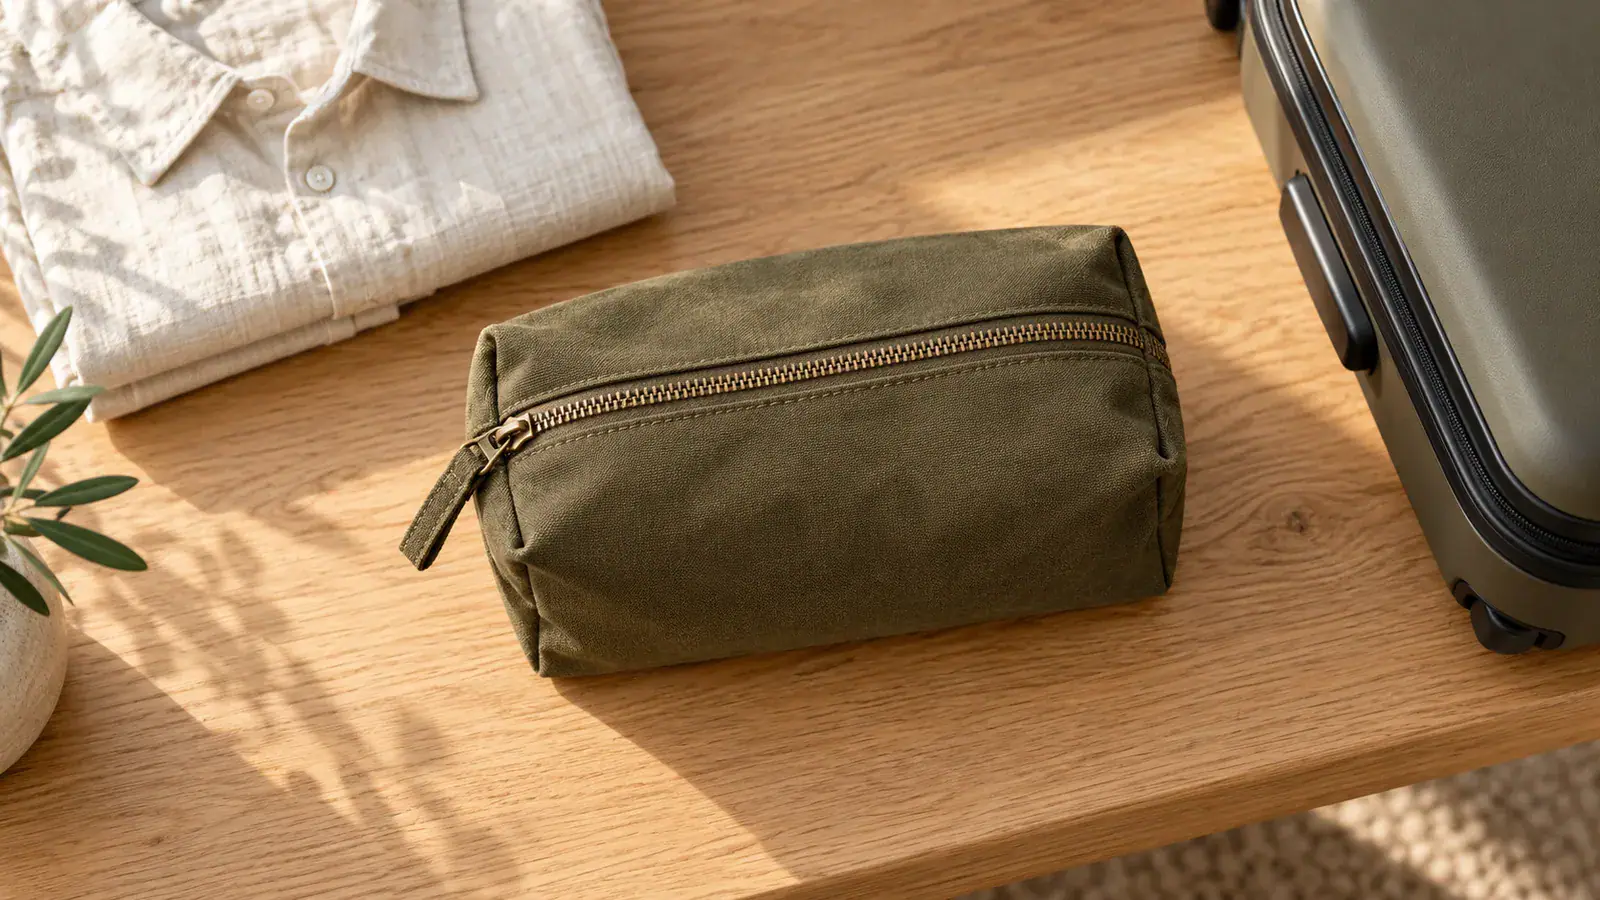
A lifestyle image helps a shopper picture a product beyond the catalog. A travel pouch on a packing table suggests a weekend away; a mug on a breakfast surface suggests a daily routine. Choose Lifestyle when that context supports your product story. Look for a scene where the item remains easy to spot and the surrounding objects feel proportionate. Pair this image with a straightforward product view in the gallery. That combination lets the scene introduce the mood while the simpler photo shows what the customer is buying.

Olive canvas travel pouch on a wooden table beside a folded shirt and a suitcase

Product ad images with space for your message

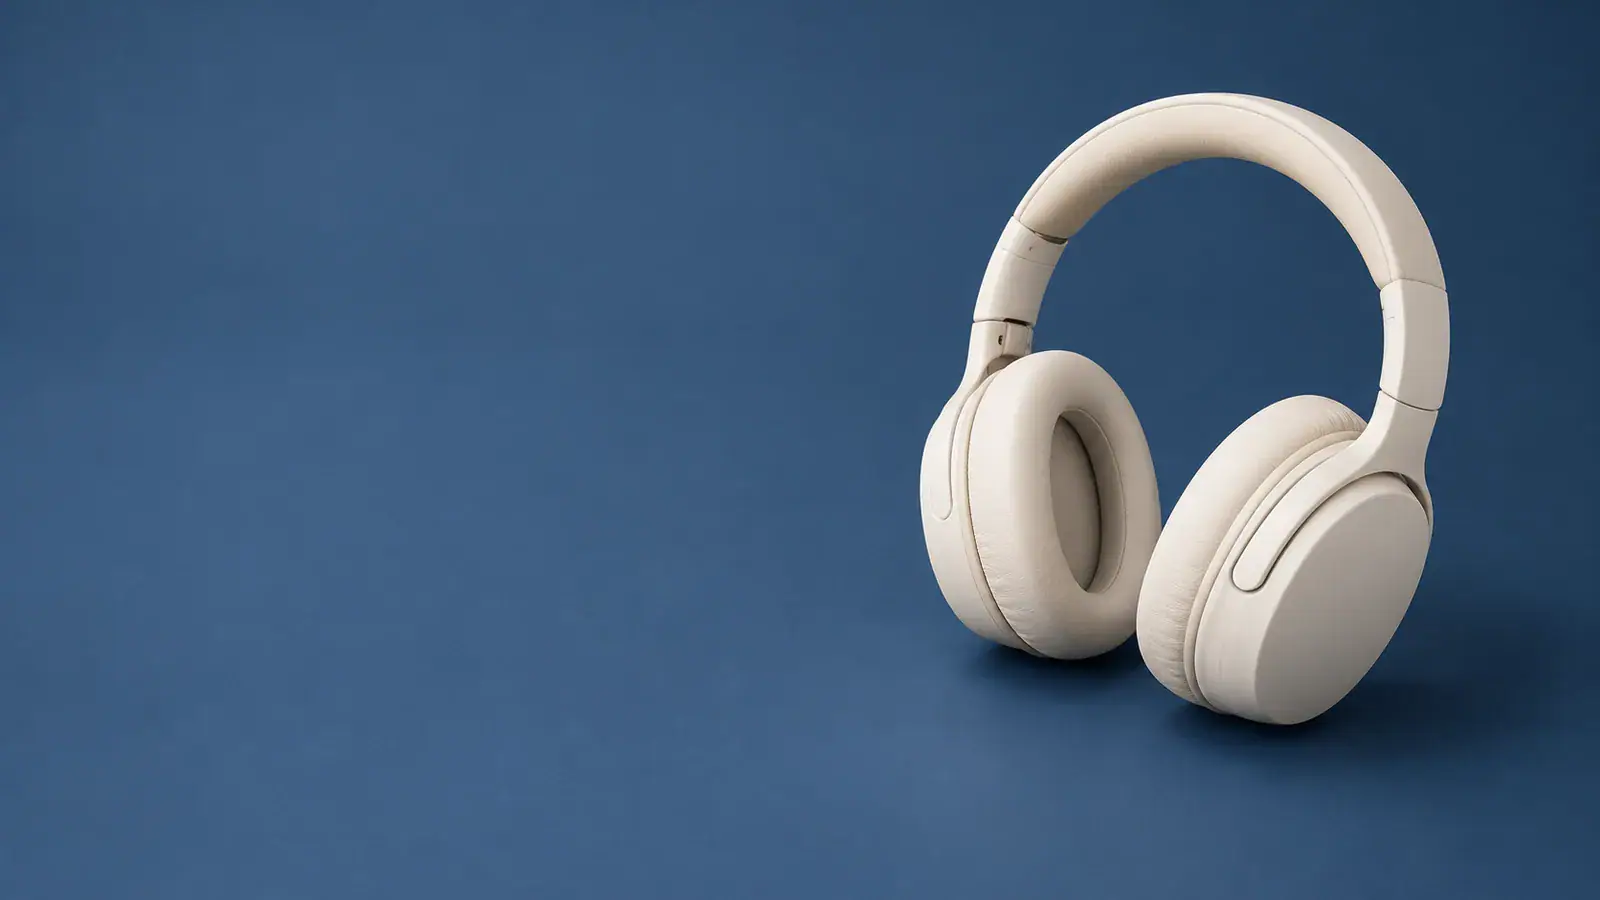
For a store banner or social campaign, choose a frame with room for both the product and your message. The 16:9 preset requests the item just right of center with quiet space on the left. Add your headline, price or offer in your design tool after choosing the image, where you can control the wording and alignment. Preview the finished design in its actual placement. If a mobile layout crops the sides, prepare a portrait version as well and keep the most recognizable part of the product inside the visible area.

Ivory headphones placed on the right of a wide blue scene with open space on the left

Choose product images shoppers can read and recognize

Before adding a new image to your store, compare it with the original at a similar size. Give each pass a purpose: read the printed details, confirm the included pieces, follow the silhouette and compare the surface. This turns the final selection into a practical product check rather than a choice based only on the background.

Keep the product name and variant readable

Read the brand name, size, flavor or model number on the generated image against the reference. Tiny differences can matter when two variants share similar packaging. Inspect lettering near curved edges and seams, where it may be harder to read. Choose a version with clear identifying details; for a closeup devoted to ingredients, measurements or instructions, use a sharp original photograph that lets shoppers read the exact information.

Show the right contents and packaging

Count the items in a set, then inspect the cap, closure, box and any accessories. A ribbon or surrounding prop can make a scene attractive, but the buyer should understand whether it comes with the order. Keep a dedicated contents photo in the gallery for bundles. If you sell the same item with different packaging options, match each selected scene to the version shown in that listing.

Compare the shape and working parts

Trace the outline around handles, openings, spouts and corners. Compare the relative height and width of the main body, then look at parts that explain how the item works, such as a zipper pull or hinge. A compact thumbnail can hide these details, so open the image before making your selection. For a long or narrow product, favor a frame that leaves its full outline visible.

Match color, texture and material

Compare a broad area of the product where the light is even, then inspect its highlights. Fabric should show the expected weave, brushed metal its grain and ceramic its surface character. Use your neutral reference photo to distinguish a change in lighting from a change in the product color. When shoppers choose between similar shades, include a straightforward reference image for each color alongside the styled scenes.

AI product photography questions

For a side, back or overhead view, upload a reference taken from that angle. This page stages the view in your source photo, so a separate reference is the clearest starting point for each perspective. Plan a small gallery around features buyers need to see, such as a clasp, back label or base, then use matching scene settings across those uploads.

Photograph it beside soft window light with the direct flash off. Move the camera or product until bright reflections clear the label and important edges. For clear glass, place a contrasting card behind or beside the item to make its outline easier to see. Check the upload at full size: a visible edge and readable label give you a more useful reference than a bright reflection covering both.

Create AI product photography for your next launch

Bring one product photo to Seedream 5.5 Pro and choose the scene your store needs next. Start with a catalog image or explore a lifestyle composition for your campaign. For a specific written edit request, open the image editor and describe the change to your existing picture.