
Loading...

GPT Image 2.5

Images
0 / 16
0/10000
Aspect Ratio
Resolution
Images
Required credits
6

Sample Images

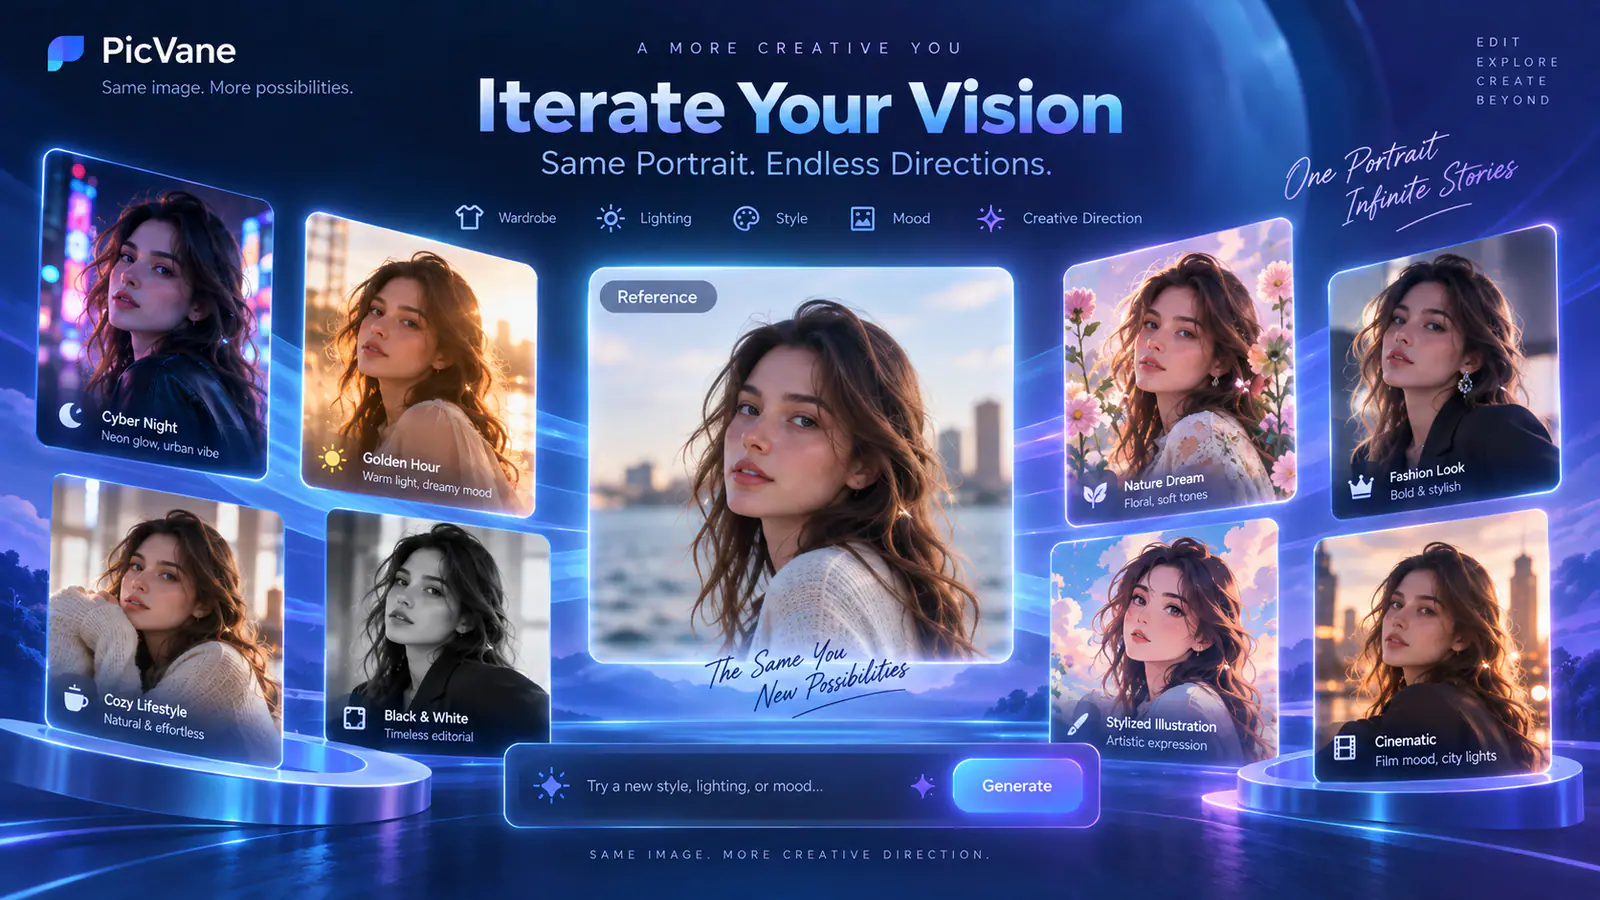
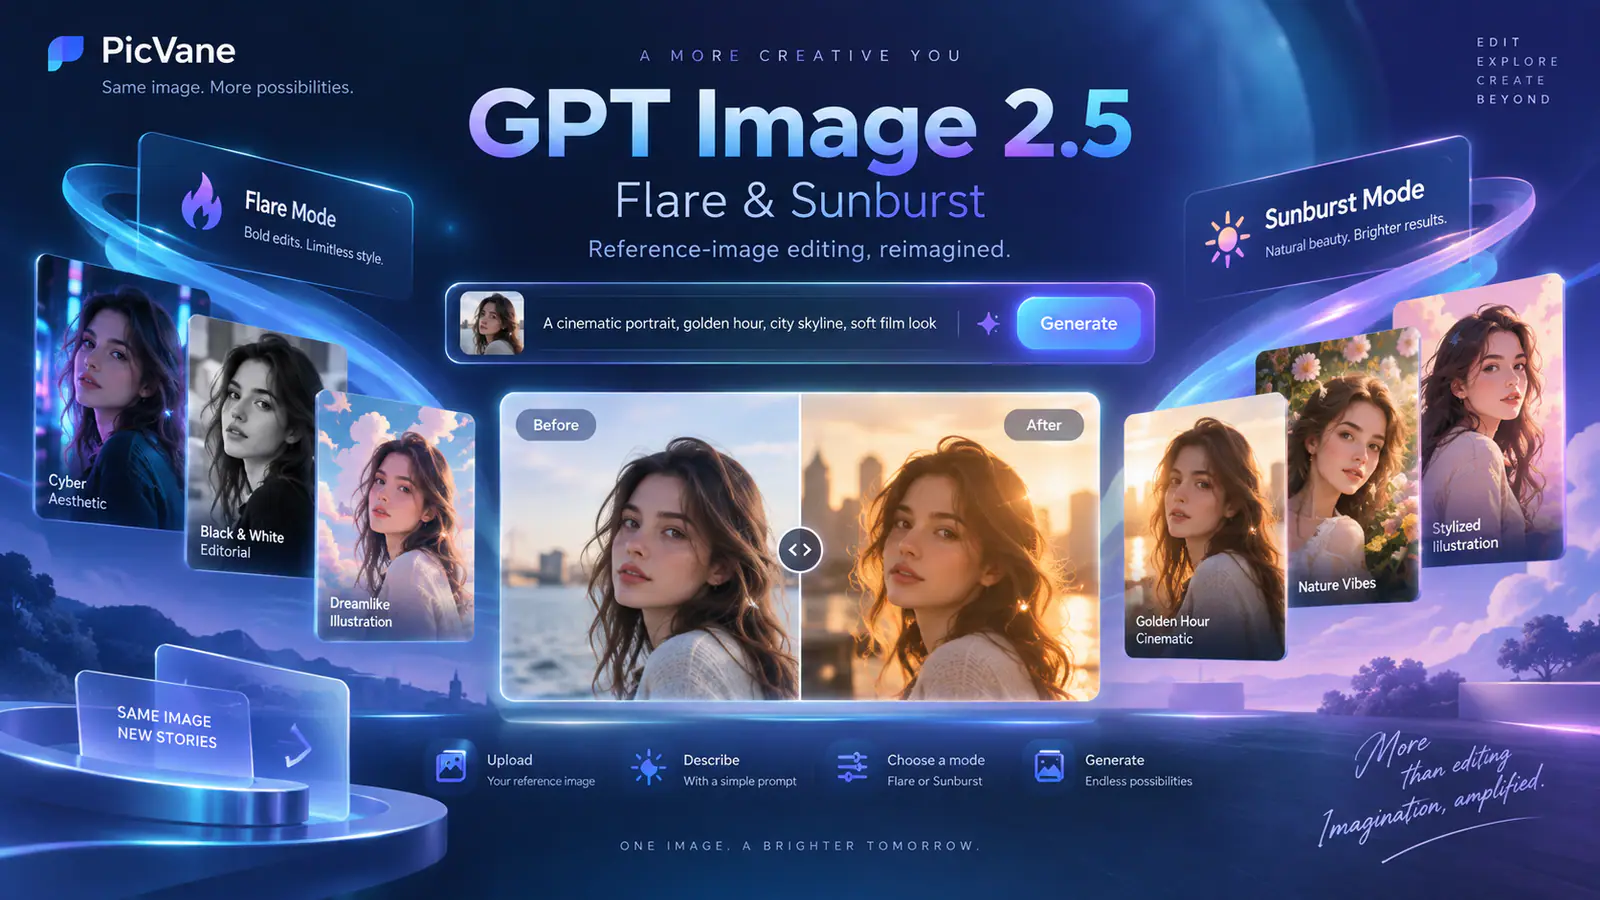
Board comparing GPT Image 2.5 Flare with GPT Image 2.5 Sunburst

GPT Image 2.5: Flare vs Sunburst

Compare GPT Image 2.5 Flare and Sunburst with the same reference photo and editing brief. The workspace opens in Image to Image with Flare selected. Upload your photo, describe the change, and generate a version. Then choose Sunburst with the same reference, aspect ratio, and resolution to compare the treatment of your subject and its details.

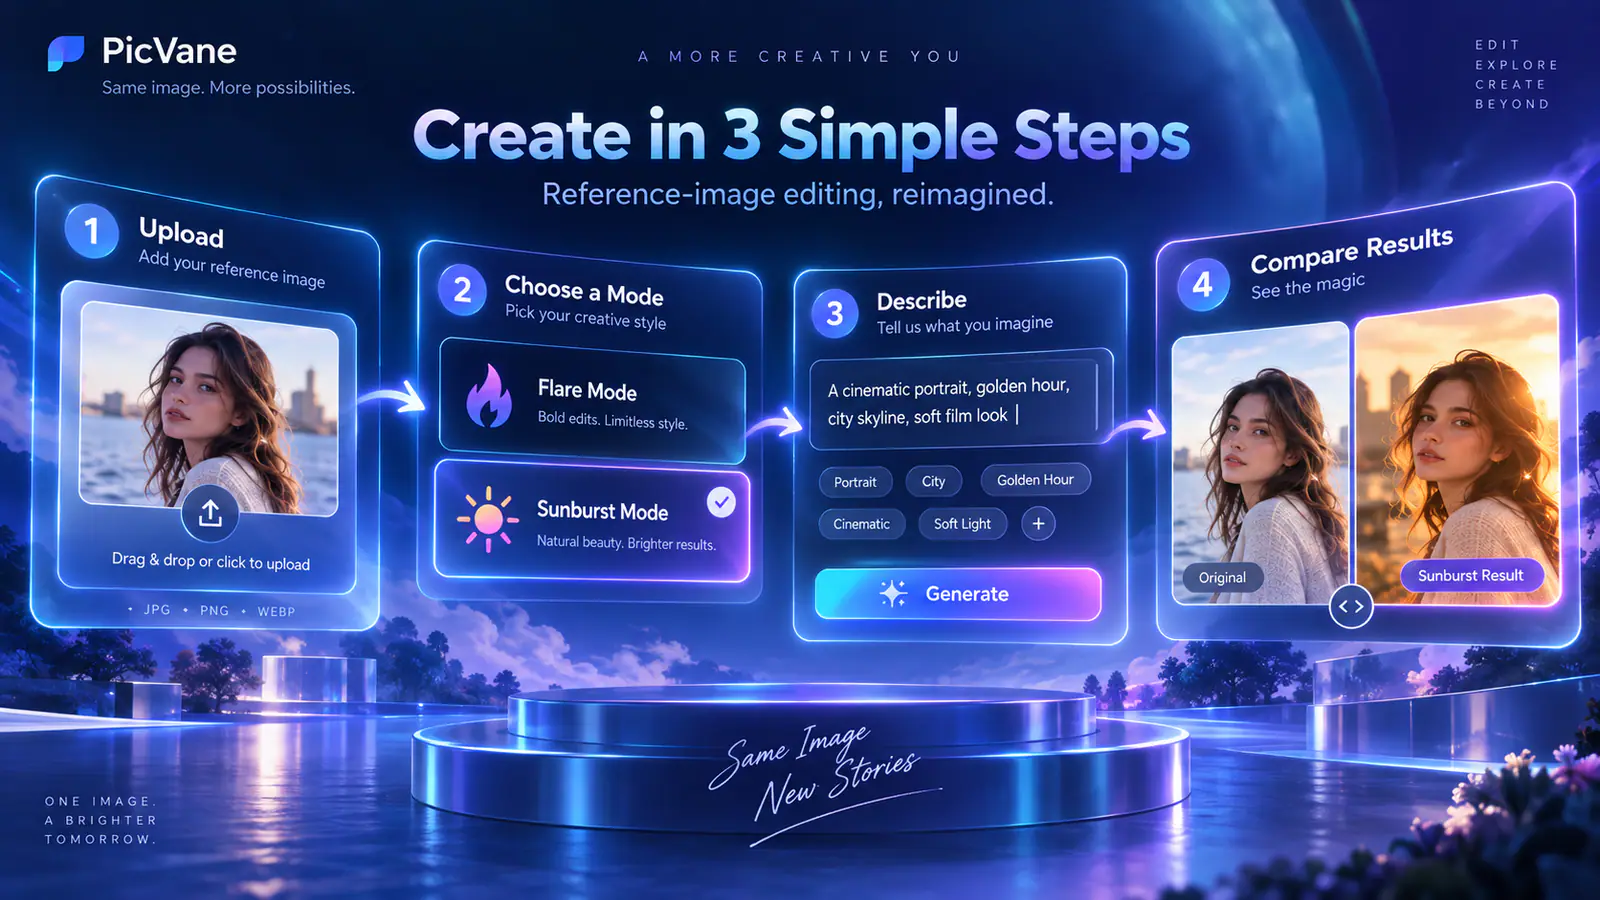
Four-step board for a GPT Image 2.5 reference edit

Run one fair Flare and Sunburst comparison

Freeze the photo, the instruction, and the frame. The only thing that should change is the variant.

  1. Write the edit, then pick the variant

    Define the edit you want to explore, then choose a variant. Start with Flare for a background, color, or composition idea. Try Sunburst for a closer look at stitching, lettering, or product edges. Use the same reference, prompt, aspect ratio, and resolution for both versions so you can compare the detail that matters to your project.

  2. Give the upload a job, then split the sentence

    This page requires at least one reference and accepts up to 16. Start with the photo that actually shows the handle, the label, or the face you will need to recognize. Put the change in one sentence and the keep-list in the next. A counter edit can say: set a pale blue wall behind the mug, and leave the mug, the printed mark, the handle, and the camera height alone. A second file needs its own job, such as palette or material, so it does not argue with the subject.

  3. Read the credits, then compare at final size

    The workbench shows the credit cost for the current resolution and output count before you submit. Both variants offer 1K, 2K, and 4K, and you can request up to four outputs. Extra references do not move that number. Switching resolution or output count does. Open the file at the size you will publish, check the change you asked for, then look for anything else that moved. The other variant should see the original photo and the original instruction, not the altered file.

Three edits that make a difference easy to see

Move a subject, change one product surface, or shift the light. Each brief gives you one concrete thing to check against the upload.

Carry a subject into another place

Start from a clear photo that shows the whole subject and its defining details. For the bicycle scene, describe the new shopfront setting and name the frame, paint, and basket to retain. Compare the outline and distinctive marks alongside the original. For a follow-up, use your preferred reference and describe the next change in one focused instruction.
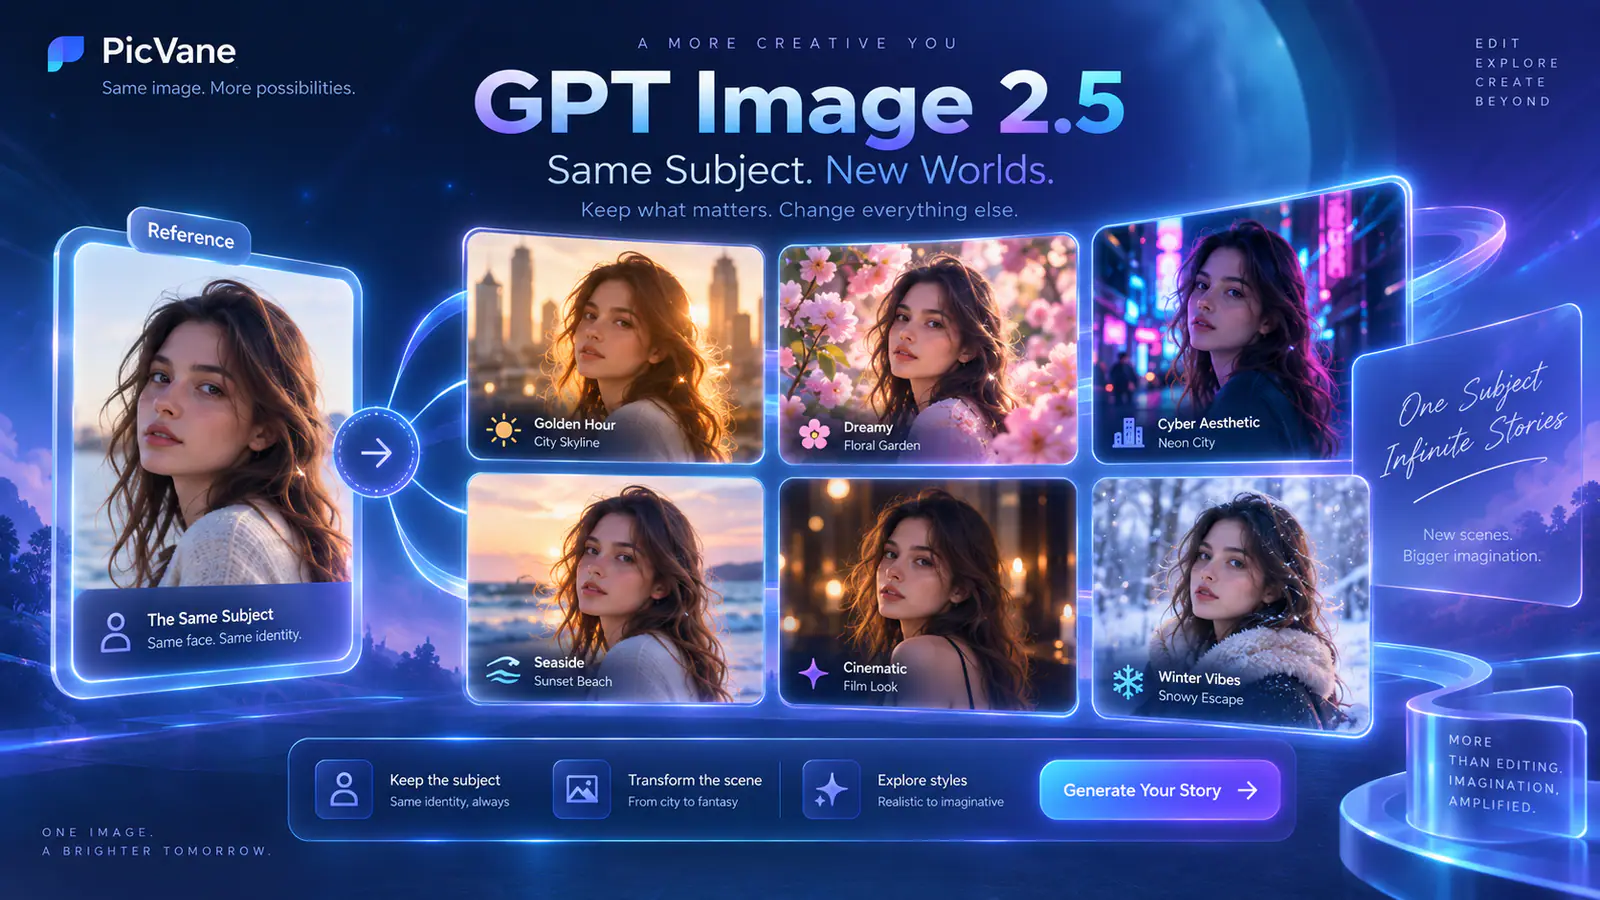
Move a subject
The same subject placed in more than one scene

Change one product surface per pass

Begin with a photo you have already approved, so the result has a known original. Ask for one surface change, such as a matte stone counter in place of a shiny table, and say the label, the cap, and the product's proportions stay. Inspect the lettering and the line where the object meets the counter. A later request for a different shadow belongs in its own pass, so you can tell which sentence caused a change.

Revise one detail
One product shown across several campaign setups

Move the light without rebuilding the person

Say which side the light enters from, whether it is hard or diffused, and which surfaces should catch it. A portrait brief can ask for window light from the left while the face, the clothes, and the crop stay with the reference. Judge that light at thumbnail size first. Then zoom in on skin and on the edge where hair meets the background. Keep the upload open while you decide whether the file still matches the person.

Shift the light
Portrait studies with different light and styling

What to hold still between the two variants

Flare and Sunburst share the same editing controls on this page. A useful comparison is the one where only the variant changes.

Stay on Flare while the idea is moving

Flare is the model loaded with this page. OpenAI presents it for faster image work, which fits a background test, a color try, or a first draft. When a sentence produces a change you can actually see, save that sentence. The Sunburst pass should use the same words.

Move to Sunburst for a small region

Use Sunburst when stitching, an engraving, or a reflected edge is central to the edit. Name that detail in the brief, then open the result beside the source at full size to compare its shape, texture, and placement.

Name the details you want to preserve

Name two or three defining details, such as the front label, handle shape, and camera height. If one upload defines the person and another defines the look, assign each image its role. These clear priorities give you a useful starting point for comparing the two variants.

Inspect the file after every pass

Open the image at its intended display size and compare the lettering, outer edges, proportions, and repeating patterns with your reference. For another version, use the source photo and describe the specific detail you want to refine.

Questions before you compare Flare and Sunburst

Reference limits, frame choices, credits, and how this page differs from a text-only start.

GPT Image 2.5 is an OpenAI image family. This workspace edits from a reference and offers Flare and Sunburst. OpenAI presents Flare for quicker iteration and Sunburst for edits that need more detail.

Use Flare while you are still comparing backgrounds, light directions, or early ideas. Switch to Sunburst when a label, a fabric, or another small region has to stay faithful. Freeze the photo, the prompt, the aspect ratio, and the resolution so the variant is the only change.

Compare Flare and Sunburst on one photo

Pick a variant, upload a reference, and ask for one change. Put the result next to the original before you edit again.